This site uses cookies to improve your experience. To help us insure we adhere to various privacy regulations, please select your country/region of residence. If you do not select a country, we will assume you are from the United States. Select your Cookie Settings or view our Privacy Policy and Terms of Use.
Cookie Settings
Cookies and similar technologies are used on this website for proper function of the website, for tracking performance analytics and for marketing purposes. We and some of our third-party providers may use cookie data for various purposes. Please review the cookie settings below and choose your preference.
Used for the proper function of the website
Used for monitoring website traffic and interactions
Cookie Settings
Cookies and similar technologies are used on this website for proper function of the website, for tracking performance analytics and for marketing purposes. We and some of our third-party providers may use cookie data for various purposes. Please review the cookie settings below and choose your preference.
Strictly Necessary: Used for the proper function of the website
Performance/Analytics: Used for monitoring website traffic and interactions
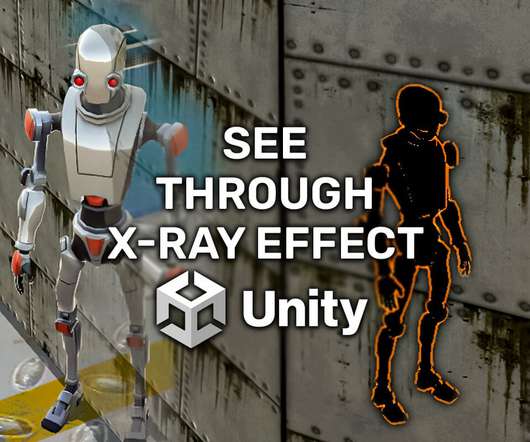
What Is a Shader? Since the main premise of this effect is going to be a shader, we’ll start with explaining what a shader is. A shader is a script where you write code that determines how the colors will be rendered based on various scenarios like lighting and material configuration.
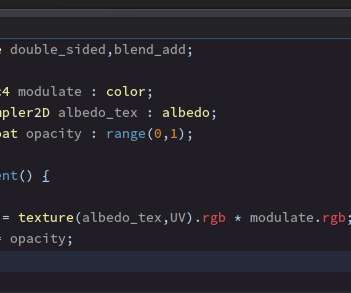
About shaders. For most game developers, shaders are this scary monster that presents itself with such a complexity that it seems out of reach. In reality, shaders are quite simple by default and just get more complex the more you add to them. The following OpenGL code sends the sprite to the shader for drawing: OpenGL Commands.
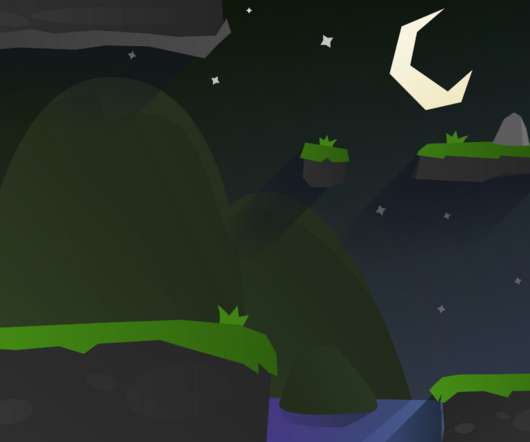
If a shader is applied to them, or if transparency is changed, the effect is applied to every node individually, given they each do it in their own draw call. Custom shaders can be used with CanvasGroup to also apply effects like drop shadows or glows to a group of objects as a single one, greatly enhancing the flexibility of the 2D engine.
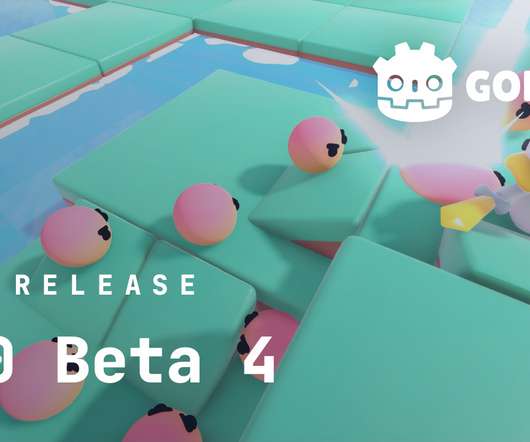
But the "1" in beta 1 means that it's only the first step of the journey, and like for the alpha phase, we're going to release new beta snapshots roughly every other week. Rendering: Improve behaviour of clip_children by clipping to parent alpha value but still retaining parent color ( GH-67043 ). We released Godot 4.0
Side note: Watch the clip in this link if you’re not familiar or just interested in understanding the difference between CPU and GPU. 96. Nevertheless, I also spent some money on the Advanced Foliage Shaders v.5. I just toggled the “Baked Pivots” option in the shader to ON. That’s it. When
But the “1” in beta 1 means that it’s only the first step of the journey, and like for the alpha phase, we’re going to release new beta snapshots roughly every other week. Rendering: Improve behaviour of clip_children by clipping to parent alpha value but still retaining parent color ( GH-67043 ). We released Godot 4.0
We organize all of the trending information in your field so you don't have to. Join 5,000+ users and stay up to date on the latest articles your peers are reading.
You know about us, now we want to get to know you!
Let's personalize your content
Let's get even more personalized
We recognize your account from another site in our network, please click 'Send Email' below to continue with verifying your account and setting a password.


Let's personalize your content