This site uses cookies to improve your experience. To help us insure we adhere to various privacy regulations, please select your country/region of residence. If you do not select a country, we will assume you are from the United States. Select your Cookie Settings or view our Privacy Policy and Terms of Use.
Cookie Settings
Cookies and similar technologies are used on this website for proper function of the website, for tracking performance analytics and for marketing purposes. We and some of our third-party providers may use cookie data for various purposes. Please review the cookie settings below and choose your preference.
Used for the proper function of the website
Used for monitoring website traffic and interactions
Cookie Settings
Cookies and similar technologies are used on this website for proper function of the website, for tracking performance analytics and for marketing purposes. We and some of our third-party providers may use cookie data for various purposes. Please review the cookie settings below and choose your preference.
Strictly Necessary: Used for the proper function of the website
Performance/Analytics: Used for monitoring website traffic and interactions
While this process is ongoing, we'll keep releasing alpha builds so here's 4.0 This alpha doesn't include official builds with.NET 6 support yet, as we still have more work to do to enable this. For users of previous alphas, we don't always have compatibility code to ease transition. alpha builds.
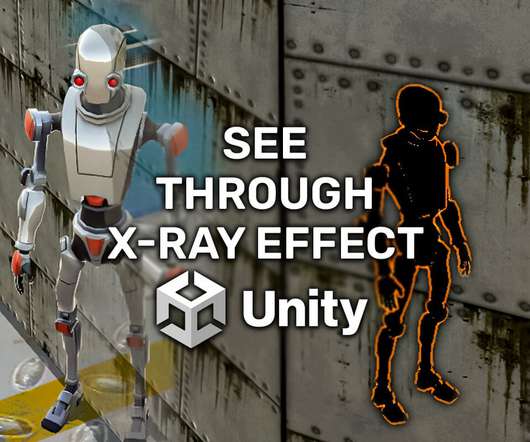
To test it out, select the Player Material and inside the Inspector tab select the Visible Behind Objects shader: This is how the shader looks like when we run the game: Game Object Visible Behind Wall But Pixelated. We’ll use them to determine if the object behind the wall will be pixelated as well as the size of the pixel.
I had tried the mask method already with no luck… but you mentioning it here pushed me to go try it some more… actually, I still had no luck using the graphic stencil… but the graphic ellipse did the trick perfectly! You saved me so much time!
But the "1" in beta 1 means that it's only the first step of the journey, and like for the alpha phase, we're going to release new beta snapshots roughly every other week. Physics: Turn on recovery as collisions only for floor snapping ( GH-64728 ). So here's beta 2! Rendering: Move deband to end of tonemapping ( GH-66317 ).
Implement Particle Shaders, with support for: Sorting, Collision and Soft Particles. Atlas cells are assigned according to their size in pixels on the screen (e.g. Mid-Processing is the effects that are applied in the middle of rendering, before alpha pass and post-processing. TODO for Milestone #3 (December 2016).
But the “1” in beta 1 means that it’s only the first step of the journey, and like for the alpha phase, we’re going to release new beta snapshots roughly every other week. Physics: Turn on recovery as collisions only for floor snapping ( GH-64728 ). Physics: Add recovery as collision in move_and_collide / test_move ( GH-65931 ).
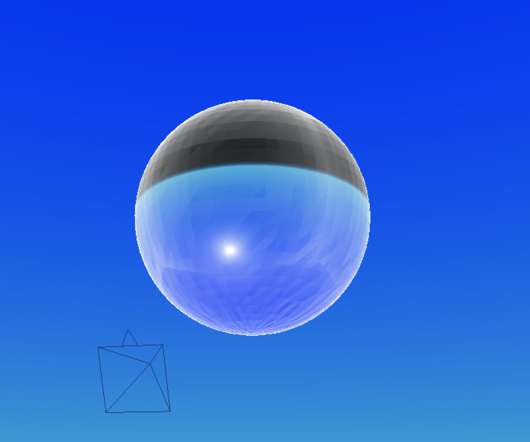
This is a screenshot that displays the object-space position of each pixel as the color. That was fixed by reflecting the view-vector with the normal of the current pixel. It halves the resolution of the image until there's only one pixel left. If a collision occurs then the next free spot will be used.
We organize all of the trending information in your field so you don't have to. Join 5,000+ users and stay up to date on the latest articles your peers are reading.
You know about us, now we want to get to know you!
Let's personalize your content
Let's get even more personalized
We recognize your account from another site in our network, please click 'Send Email' below to continue with verifying your account and setting a password.


Let's personalize your content