This site uses cookies to improve your experience. To help us insure we adhere to various privacy regulations, please select your country/region of residence. If you do not select a country, we will assume you are from the United States. Select your Cookie Settings or view our Privacy Policy and Terms of Use.
Cookie Settings
Cookies and similar technologies are used on this website for proper function of the website, for tracking performance analytics and for marketing purposes. We and some of our third-party providers may use cookie data for various purposes. Please review the cookie settings below and choose your preference.
Used for the proper function of the website
Used for monitoring website traffic and interactions
Cookie Settings
Cookies and similar technologies are used on this website for proper function of the website, for tracking performance analytics and for marketing purposes. We and some of our third-party providers may use cookie data for various purposes. Please review the cookie settings below and choose your preference.
Strictly Necessary: Used for the proper function of the website
Performance/Analytics: Used for monitoring website traffic and interactions
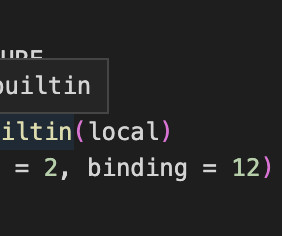
daisyH: o *= vec4(1, 1, 1, alpha); Thanks. Now I understand that this o *= vec4(1, 1, 1, alpha); is rgba. I tried to display in the picture the movement pattern of drawing the appearance of pixels. The beginning of the movement of pixels depends on the color saturation and tends to display colors next to a circle.
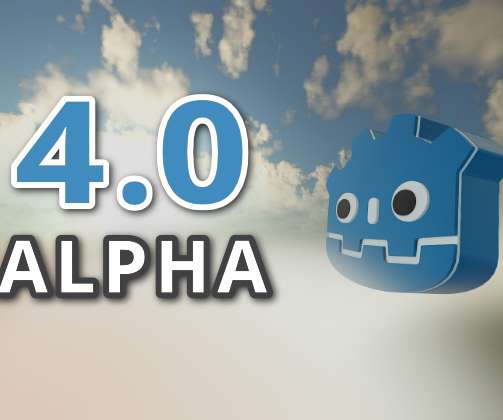
While this process is ongoing, we'll keep releasing alpha builds so here's 4.0 This alpha doesn't include official builds with.NET 6 support yet, as we still have more work to do to enable this. For users of previous alphas, we don't always have compatibility code to ease transition. alpha builds.
While this process is ongoing, we'll keep releasing alpha builds so here's 4.0 This is the first alpha to include export templates for the Web platform again. Re-enable per-pixel transparency support on Linux, macOS, and Windows. For users of previous alphas, we don't always have compatibility code to ease transition.
We're continuing on our fortnightly release schedule for alpha snapshots of Godot 4.0 - this time with 4.0 See past alpha releases for details ( alpha 1 , alpha 2 ). Be aware that during the alpha stage the engine is still not feature-complete or stable. alpha builds. Known issues. Bug reports.
alpha 1 ― the first official alpha build of our upcoming major milestone, enabling all interested users to try it out and report bugs, as well as provide feedback on the new features. branch, we're going to release new alpha builds every other week, so that testers can always have a recent version to test the latest changes.
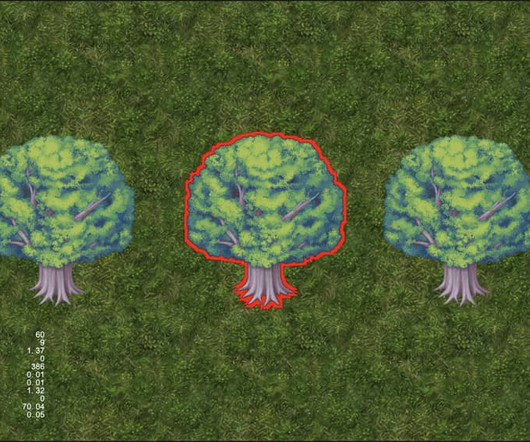
Principle Since it’s an outer stroke, it doesn’t occupy the pixels of the original image to draw the edges. Remember the previous article, where we used the image’s Alpha to find edges, determining whether there were pixels with Alpha of 0 around the image. Here, we take the opposite approach.
Alpha tested geometry. High-poly geometry, with alpha testing like hair and fur, can be challenging for direct tracing. One way to reduce the tracing cost is to start with pre-tracing, where you trace local neighborhoods for each pixel in screen space, similar to screen space shadows or ambient occlusion techniques.
Add it like this float alpha = (sin(cc_time.x) + 1.0) / 2.0; o *= vec4(1, 1, 1, alpha); The effect is transparency gradient. surface-effect.effect.zip (1.2
The black border is due to the fact that in the WebGL program, when drawing, the texture object’s Filter is set to gl.Linear (linear filtering), when a semi-transparent pixel is sampled adjacent to a fully transparent pixel during pixel interpolation (e.g.,(0.1)).0, 0) of this kind) produces black or white pixels.
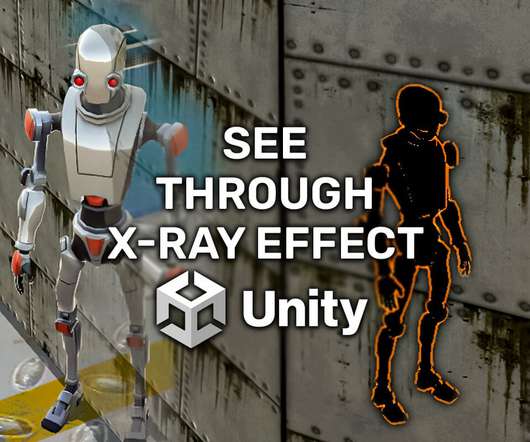
To test it out, select the Player Material and inside the Inspector tab select the Visible Behind Objects shader: This is how the shader looks like when we run the game: Game Object Visible Behind Wall But Pixelated. We’ll use them to determine if the object behind the wall will be pixelated as well as the size of the pixel.
Hello all, I have a shader that takes the alpha value of one texture and applies to a sprite frame. I prefer to go this way so that I can have a gradient fade to transparency… the mask component uses the stencil buffer and isn’t set up to use alpha blending and therefore cannot utilize the gradient of alpha values.
Our sprite is 32x32 pixels in size, and it must be drawn at some position. For each pixel drawn to the screen, OpenGL will interpolate the outputs that were generated from the vertex program and use them to fill the triangle. This process is done in the fragment program (pixel shader in DirectX terminology). Fragment Program.
Shaders are programs that describe the traits of vertices and pixels. It also prepares the data (like the UVs) that will be used next by the Pixel Shader. The Pixel Shader runs once per each pixel and renders your object. Here you can apply textures (that’s why you need UVs), change colors, discard pixels etc.
I had tried the mask method already with no luck… but you mentioning it here pushed me to go try it some more… actually, I still had no luck using the graphic stencil… but the graphic ellipse did the trick perfectly! You saved me so much time!
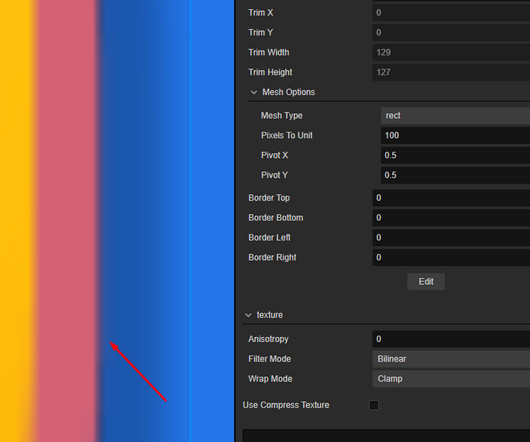
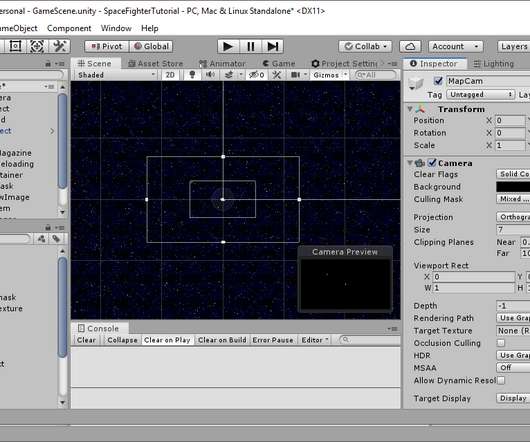
Then set the pixels per unit to 64 and click apply to update the sprites. This will be the mask which shows or hides part of our map based on the alpha value of the mask texture we will add. Masking allows us to show only a portion of a texture based on the alpha value of another texture. This will display our render texture.
This time, the narrative revolves around Eric Manahan , the former architect who found solace in pixelated characters and captivating storylines. He stumbled upon an alpha build of a game called Iconoclasts. The pixelated game wasn’t just beautiful, but it was also a product of a single developer. ” The tools?
As we can see, in Deferred Rendering, the calculation of a pixel’s color is uniformly performed in the lighting phase. Since the calculation is all done in the lighting phase, the pixels of the hidden parts of the models have already been discarded by depth testing, greatly avoiding unnecessary computations and thus improving performance.
COLOR = col.rgb; ALPHA = col.a; // Subpasses can use alpha. This means pixels that are occluded will not be drawn. This allows users to have one version for the cubemap, and another for each subpass. else if (AT_HALF_RES_PASS) { vec4 col = generate_fancy_clouds(EYEDIR, TIME); // Clouds will be rendered to half res texture.
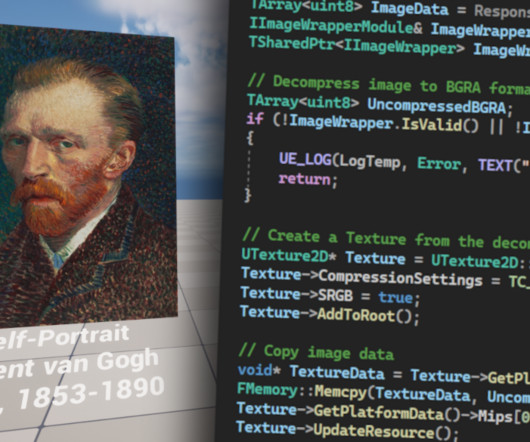
If it is, decompress the image data from the ImageData buffer and store them in another buffer UncompressedBGRA , also declared as TArray<uint8> The UncompressedBGRA buffer stores the image data in raw BGRA format, where BGRA stands for the color channels blue, green, red, and alpha (the transparency channel).
Enable the use of any-hit shaders only for those geometries that need it; for example, to do alpha testing. Invoking any-hit shader, typically for performing alpha testing, for non-opaque triangles interrupts hardware intersection search. Consider alpha testing instead of blending. Do this whenever possible.
Given the high control we have over the shader compiler, we can: Detect when shaders write to the alpha channel and automatically make the surface go via the transparent pipeline. Great alpha blending support. Godot uses a very correct raymatching approach for this, using Bresenham to draw lines and not process redundant pixels.
Godot uses clustered decals, so the cost is very low (the pixel is shaded only once and there are no extra draw calls for each decal). Alpha is still some months away, but it's getting closer every day! They are very easy to use, just select the right texture channels and blending options and they work without much hassle.
Atlas cells are assigned according to their size in pixels on the screen (e.g. Mid-Processing is the effects that are applied in the middle of rendering, before alpha pass and post-processing. Shadow atlases exist for Spot and Omni lights (Directional uses its own texture, and multiple directional lights need several passes).
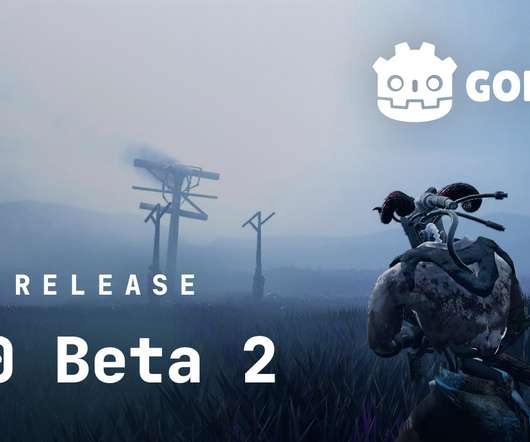
But the "1" in beta 1 means that it's only the first step of the journey, and like for the alpha phase, we're going to release new beta snapshots roughly every other week. Rendering: Take FXAA samples from half-pixel coordinates to improve quality ( GH-66466 ). So here's beta 2!
But the “1” in beta 1 means that it’s only the first step of the journey, and like for the alpha phase, we’re going to release new beta snapshots roughly every other week. Rendering: Take FXAA samples from half-pixel coordinates to improve quality ( GH-66466 ). So here’s beta 2! Rendering: Fix broken 2D light blending ( GH-66370 ).
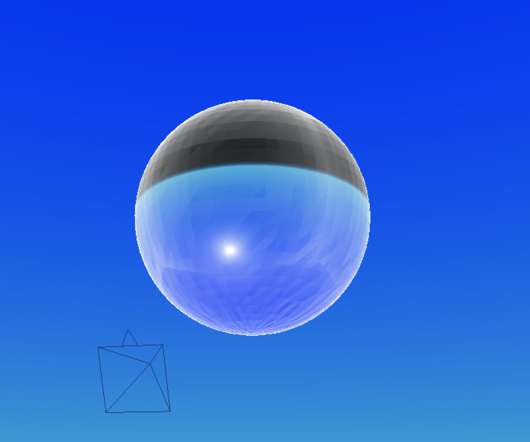
This is a screenshot that displays the object-space position of each pixel as the color. That was fixed by reflecting the view-vector with the normal of the current pixel. It halves the resolution of the image until there's only one pixel left. That's not really that interesting to look at, so let's try to use SOME MATH!!!
We organize all of the trending information in your field so you don't have to. Join 5,000+ users and stay up to date on the latest articles your peers are reading.
You know about us, now we want to get to know you!
Let's personalize your content
Let's get even more personalized
We recognize your account from another site in our network, please click 'Send Email' below to continue with verifying your account and setting a password.


Let's personalize your content