This site uses cookies to improve your experience. To help us insure we adhere to various privacy regulations, please select your country/region of residence. If you do not select a country, we will assume you are from the United States. Select your Cookie Settings or view our Privacy Policy and Terms of Use.
Cookie Settings
Cookies and similar technologies are used on this website for proper function of the website, for tracking performance analytics and for marketing purposes. We and some of our third-party providers may use cookie data for various purposes. Please review the cookie settings below and choose your preference.
Used for the proper function of the website
Used for monitoring website traffic and interactions
Cookie Settings
Cookies and similar technologies are used on this website for proper function of the website, for tracking performance analytics and for marketing purposes. We and some of our third-party providers may use cookie data for various purposes. Please review the cookie settings below and choose your preference.
Strictly Necessary: Used for the proper function of the website
Performance/Analytics: Used for monitoring website traffic and interactions
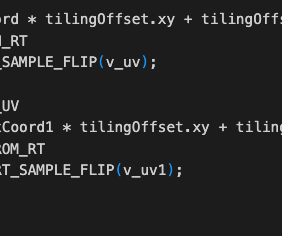
Here are the implementation of water wave effects on 2D sprites and 3D meshes: Preview Link The math behind it is simple, the water wave is simulated by the Sin function, and then the fluctuation range is increased in the Update function. _pass = this.node.getComponent(Sprite).material.passes[0]; x,waveFactor.y-uv0.y); x,waveFactor.y-uv0.y);
You can use the library to easily create scenes, add layers, build sprites, handle actions and collisions, add key events, and so much more. While other game developers might be able to tackle detailed coding requirements or easily debug code issues using their knowledge, Kaboom.js Load your Sprites and Create a Player.
This drastically reduces drawcall-related bottlenecks and can give massive gains in specific scenarios (drawing lots of sprites, big TileMaps, text rendering). Top: 10,000 Sprites with a randomized modulate and position. Bottom: 8 layers of a screen full of "A"s with two Sprites intermixed. Can you spot the difference?
Hello, I’m working on a custom material/effect with a USE_INSTANCING branch that works on sprites, but does not work on a spine character. I’ve tried the different animation cache modes, and enable/disable batch. The effect is a duplicate of builtin-spine , with the instancing branches added and the two_color branch removed.
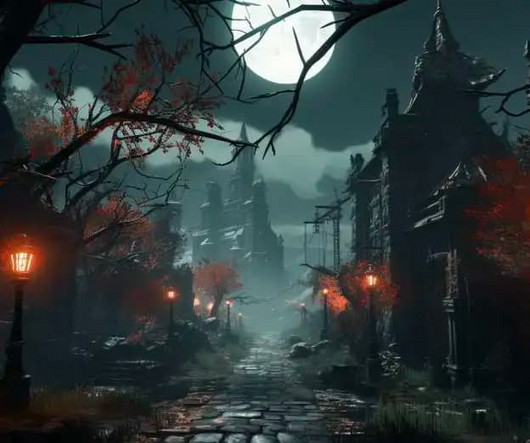
The most commonly used method involves rendering the camera to a RenderTexture (RT) and then displaying it on a Sprite. After all, light is just a localized brightening of the image. The technology is not complicated, but the number of points is more or less limited, and debugging is also troublesome. I tested it with an image.
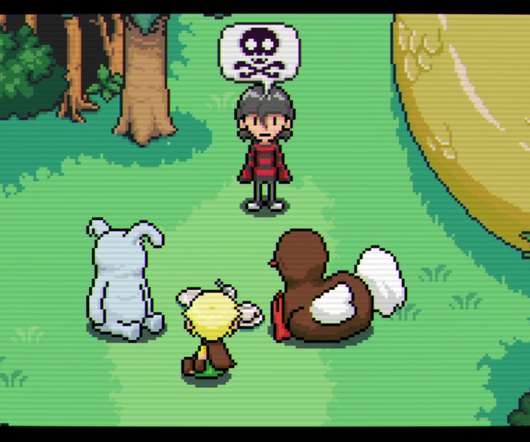
As a side benefit, you can look at the script in the inspector and see the Entity’s id which may be useful for a variety of debugging purposes. Because of the grid-based nature of my game, I position my sprites at whole number coordinate positions like "(2, 3)". Therefore I needed to create my own array that could be re-used.
We organize all of the trending information in your field so you don't have to. Join 5,000+ users and stay up to date on the latest articles your peers are reading.
You know about us, now we want to get to know you!
Let's personalize your content
Let's get even more personalized
We recognize your account from another site in our network, please click 'Send Email' below to continue with verifying your account and setting a password.


Let's personalize your content