This site uses cookies to improve your experience. To help us insure we adhere to various privacy regulations, please select your country/region of residence. If you do not select a country, we will assume you are from the United States. Select your Cookie Settings or view our Privacy Policy and Terms of Use.
Cookie Settings
Cookies and similar technologies are used on this website for proper function of the website, for tracking performance analytics and for marketing purposes. We and some of our third-party providers may use cookie data for various purposes. Please review the cookie settings below and choose your preference.
Used for the proper function of the website
Used for monitoring website traffic and interactions
Cookie Settings
Cookies and similar technologies are used on this website for proper function of the website, for tracking performance analytics and for marketing purposes. We and some of our third-party providers may use cookie data for various purposes. Please review the cookie settings below and choose your preference.
Strictly Necessary: Used for the proper function of the website
Performance/Analytics: Used for monitoring website traffic and interactions
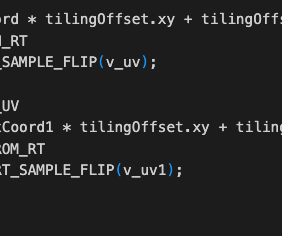
UV is also inconsistent with the world coordinate system used elsewhere in Cocos (the Y axis points upward, as shown in the figure below), and this issue should also be paid attention to when calculating the UV position through world coordinates. Use the water wave effect on the 3D meshes This is only for 3D planes with tiled UV Mapping.
Fixed a bug where preview clicks in the editor were misaligned when the window scaling was not set to 1. Fixed a bug where the localized editor could not be used. Incorrect mesh instanced attribute handling for INT type attributes. Enhanced scene view selection logic for prefabs: First click selects the prefab root node.
The recent webinar shares how to use Unity’s High Definition Render Pipeline (HDRP) wizard to enable ray-tracing in your Unity project with just a few clicks. The recent webinar shares how to use Unity’s High Definition Render Pipeline (HDRP) wizard to enable ray-tracing in your Unity project with just a few clicks. Pierre: Certainly.
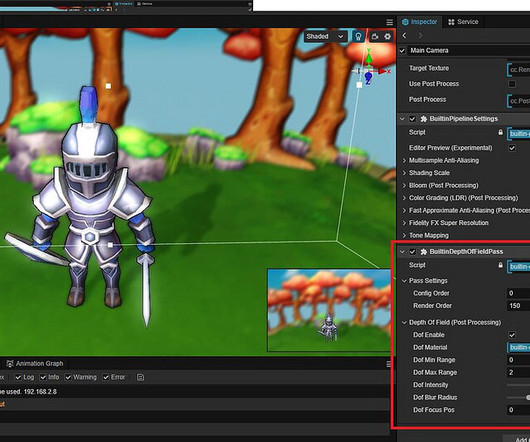
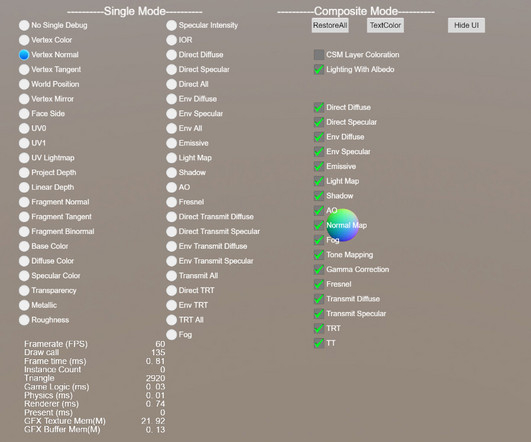
See the documentation “Render Debugging - Run Time Using Render debugging”: [link] • When the node animates, add the tween ‘destroySelf’ method to destroy the front nodal point. Fixed native side LOD screen share calculation using local coordinates, causing calculation error. Skip rendering when the UI element Opacity is 0. Fixed Mat4.getRotation
To see the available shaders first we need to create a material by Right Click -> Create -> Material: After we create the material, select it by Left Clicking on it, then in the Inspector tab you can see its options. Now that we have the shader, create a new material by Right Click -> Create -> Material.
So I’m going into the project tab and I’m going to click on assets to get to the main assets folder of Unity, and I’m going to right-click in here and create a new folder called Scripts and we are going to create our first script. (00:59) Like for example, we have the mesh renderer that we have up here. (01:55)
Since we previously did not version our Android plugin systems, this new one is now labelled v1 , and is the starting point for the modern Godot Android ecosystem. Better handling of Variant s pointing to released Object s. Updated and localized documentation. This new plugin system is backward-incompatible with the 3.2/3.2.1
Since DAP is a platform-agnostic protocol, it also shouldn't require any custom plugins or anything of the sort; just point your compatible editor to the right port ( 6009 by default) , and you're good to go! With these, you can already start debugging projects with your text editor of choice.
You can download the assets and the complete project for this tutorial by clicking on the button above. We’ll start with the Player_Character folder: Inside the Player_Character folder Right Click and create a new blueprint: The parent class is going to be Character: Name the blueprint BP_Player and open it in the editor window.
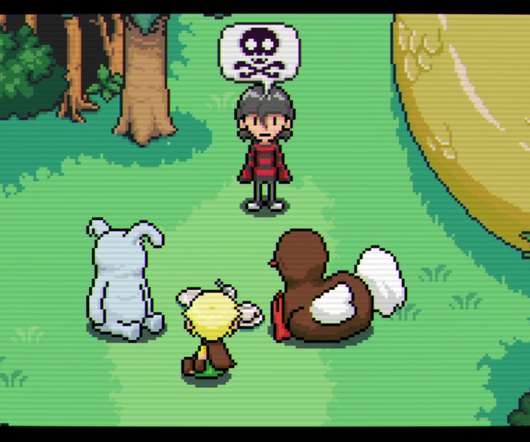
As with my previous gay games, the controls are simple: you move the mouse up to raise the axe, and then move the mouse down (or click) to chop, and that's pretty much it. Here I use a classic gamey-style back-and-forth aiming meter where you have to click at the right time, yet there's a delay between your input and the end of the animation.
We organize all of the trending information in your field so you don't have to. Join 5,000+ users and stay up to date on the latest articles your peers are reading.
You know about us, now we want to get to know you!
Let's personalize your content
Let's get even more personalized
We recognize your account from another site in our network, please click 'Send Email' below to continue with verifying your account and setting a password.


Let's personalize your content