This site uses cookies to improve your experience. To help us insure we adhere to various privacy regulations, please select your country/region of residence. If you do not select a country, we will assume you are from the United States. Select your Cookie Settings or view our Privacy Policy and Terms of Use.
Cookie Settings
Cookies and similar technologies are used on this website for proper function of the website, for tracking performance analytics and for marketing purposes. We and some of our third-party providers may use cookie data for various purposes. Please review the cookie settings below and choose your preference.
Used for the proper function of the website
Used for monitoring website traffic and interactions
Cookie Settings
Cookies and similar technologies are used on this website for proper function of the website, for tracking performance analytics and for marketing purposes. We and some of our third-party providers may use cookie data for various purposes. Please review the cookie settings below and choose your preference.
Strictly Necessary: Used for the proper function of the website
Performance/Analytics: Used for monitoring website traffic and interactions
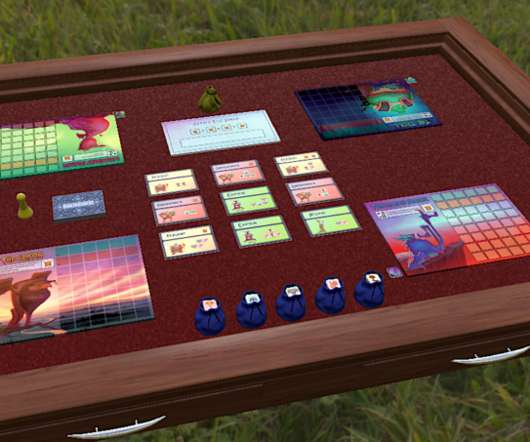
Many of you know that I’m in love with Tabletop Simulator as a testing tool. The 5 Benefits of Using Tabletop Simulator. I’d like to explain to you exactly how to create a demo of your board game on Tabletop Simulator, but first let’s discuss what I perceive as its five main benefits: 1.
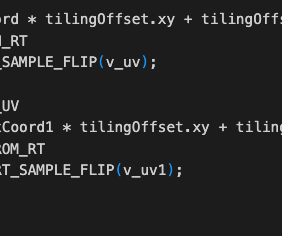
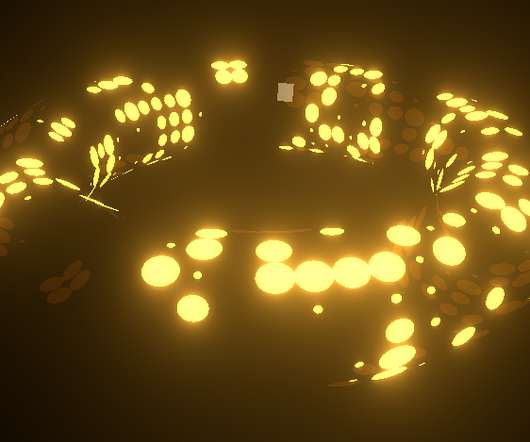
UV is also inconsistent with the world coordinate system used elsewhere in Cocos (the Y axis points upward, as shown in the figure below), and this issue should also be paid attention to when calculating the UV position through world coordinates. Use the water wave effect on the 3D meshes This is only for 3D planes with tiled UV Mapping.
3D editor: Ability to select subscenes when clicking them in the viewport. Physics: Add one-way collision to tile-set/tile-map. Math: Correct hash behavior for floating point numbers. Platform: macOS: Add Ctrl+Click support for Right Click actions. Physics: Backport move_and_slide API from the master branch.
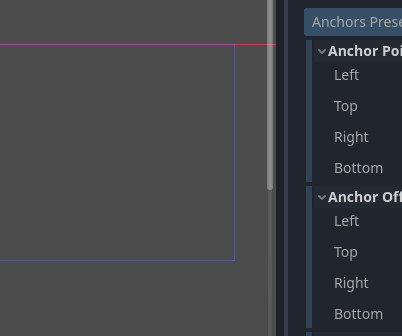
This time we’ll be working on some scripts to make working with anchor points in code a bit simpler, and allow us to animate some things in our UI. This time for Anchor Points set Left to.4, Click on the ParentPanel and create 3 child nodes of the type ReferenceRect and name them VRect, HRect and FullRect respectively.
This allows them to optimise the number of clicks and app store visits resulting in higher CTRs (Click Through Rates) Optimization of the storefronts: After a “hero creative/or the main playable ad” is selected, Playrix changes the app icons and the first screenshots in the app stores to reflect a similar message with the ads.
We organize all of the trending information in your field so you don't have to. Join 5,000+ users and stay up to date on the latest articles your peers are reading.
You know about us, now we want to get to know you!
Let's personalize your content
Let's get even more personalized
We recognize your account from another site in our network, please click 'Send Email' below to continue with verifying your account and setting a password.


Let's personalize your content