This site uses cookies to improve your experience. To help us insure we adhere to various privacy regulations, please select your country/region of residence. If you do not select a country, we will assume you are from the United States. Select your Cookie Settings or view our Privacy Policy and Terms of Use.
Cookie Settings
Cookies and similar technologies are used on this website for proper function of the website, for tracking performance analytics and for marketing purposes. We and some of our third-party providers may use cookie data for various purposes. Please review the cookie settings below and choose your preference.
Used for the proper function of the website
Used for monitoring website traffic and interactions
Cookie Settings
Cookies and similar technologies are used on this website for proper function of the website, for tracking performance analytics and for marketing purposes. We and some of our third-party providers may use cookie data for various purposes. Please review the cookie settings below and choose your preference.
Strictly Necessary: Used for the proper function of the website
Performance/Analytics: Used for monitoring website traffic and interactions
I finished integrating Embree into the engine's build system and also added a simple ray tracing API that allows for defining a set of meshes and perform ray intersection tests among them. Initially I intended to have transitions and clips tied together, however after discussions with my mentor I decided it would be best if they are separate.
In today’s tutorial, we take things a step further by teaching you how to use triggers and switches in order to help you create more interesting game mechanics. We could jump into our flow graph again and to make this really easy just search for “audio source” and “Play clip at point. Step 1: Begin By Setting Up Your Object.
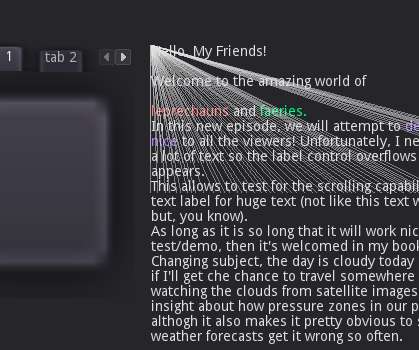
load meshes. render meshes. This is Godot's main mechanism for memory management. With that done, the editor almost rendered correctly, except for some incorrect clipping. Done January 2018. bring GDNative API into stable state. improve C++ bindings. add simple C++ GDNative demo. add line rendering. add circle rendering.
After creating a low-poly mesh for the tree, however, Joe started to worry about how high the polycount for this piece would ultimately end up being. Because of his expertise, we now have the proper dodge mechanics in place that will make bashin' on baddies suuuper fun. Let us know which clip made you laugh the most.
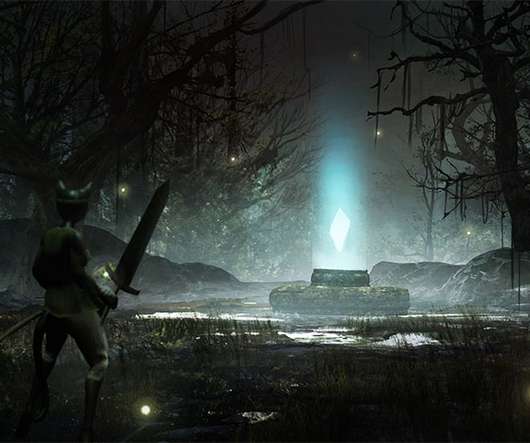
About my splitting tech: I didn't manually model pre-split meshes, it's all dynamic via shader. When the axe animation reaches 100%, I set a clipping plane (by Ronja) on the target object, then duplicate it with a reversed clipping plane. These non-wood objects makes crucial double use of the aiming mechanic.
We organize all of the trending information in your field so you don't have to. Join 5,000+ users and stay up to date on the latest articles your peers are reading.
You know about us, now we want to get to know you!
Let's personalize your content
Let's get even more personalized
We recognize your account from another site in our network, please click 'Send Email' below to continue with verifying your account and setting a password.


Let's personalize your content