This site uses cookies to improve your experience. To help us insure we adhere to various privacy regulations, please select your country/region of residence. If you do not select a country, we will assume you are from the United States. Select your Cookie Settings or view our Privacy Policy and Terms of Use.
Cookie Settings
Cookies and similar technologies are used on this website for proper function of the website, for tracking performance analytics and for marketing purposes. We and some of our third-party providers may use cookie data for various purposes. Please review the cookie settings below and choose your preference.
Used for the proper function of the website
Used for monitoring website traffic and interactions
Cookie Settings
Cookies and similar technologies are used on this website for proper function of the website, for tracking performance analytics and for marketing purposes. We and some of our third-party providers may use cookie data for various purposes. Please review the cookie settings below and choose your preference.
Strictly Necessary: Used for the proper function of the website
Performance/Analytics: Used for monitoring website traffic and interactions
Here is the relevant code snippet from SetLevel.ts However, I get the following error at runtime: Error loading sprite at Levels/BgLevel4: Error: Bundle resources doesn’t contain Levels/BgLevel4 I have verified: The files are inside the resources folder. The path is correct and matches the file names exactly (case-sensitive).
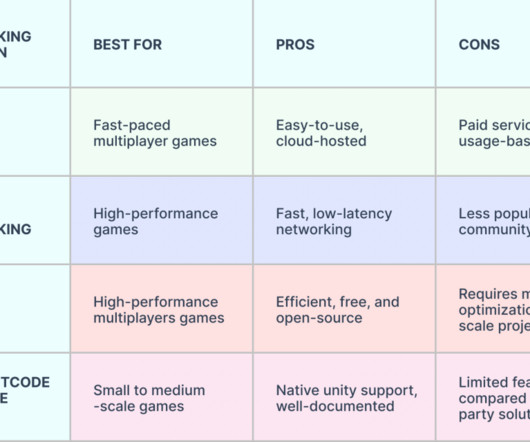
Billboard Sprites reduces GPU processing through the use of simple models for distant objects. Using the Profiler allows developers to detect memory-intensive code sections which they should optimize. The LOD Group Component allows developers to specify different levels of detail which transition according to object distance.
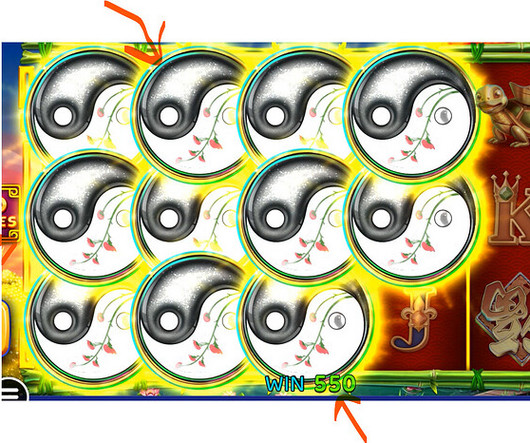
In cocos 2D i used to set the zindex with higher value to move that symbol/sprite/image in front/top of other images. Currently the code is maintaining the order based on index of child while i believe it should be a separate property on node based on which order is rearranged. Hi @s_agarwal I am working on slot game.
I’m not getting any errors, it simply doesn’t show a sprite. In fact, the sprite that I pull from the cache isn’t null, but nothing shows up. Later, when I want the sprites, I call jerseySprite = Sprite::createWithSpriteFrameName(jerseyName); Right now, I’m wondering if maybe I’m doing something wrong.
Even after modifying the vertex buffer ( vb ), the changes are not reflecting on the sprite. Can you please provide a complete code example for setting a gradient color dynamically in Cocos Creator 3.8.2 ? Example for a vertical gradient (from startColor to endColor ) How to properly update the vertex buffer after modifying colors?
Blockquote const sprite = this.getComponent(Sprite); const mat = sprite.customMaterial; mat.setProperty(‘dissolveThreshold’, 0.5); Version 3.6.x, x, I using this code but it not bring Property affect to shader Ok, this work if turn of Packable in main Sprite inspector
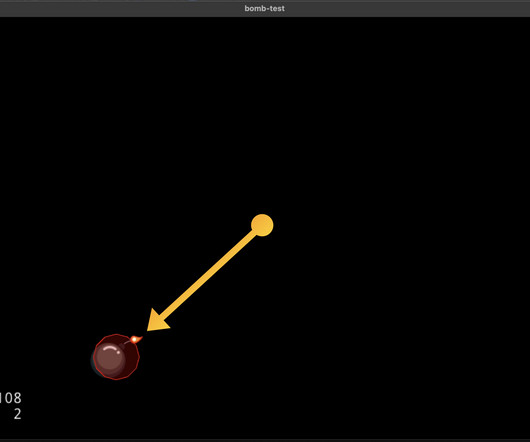
Basically the problem is here: sprite->runAction(RepeatForever::create(animate)); If i comment this line, it works. I made a small project to show: GitHub GitHub - paulocoutinhox/axmol-bomb-test Contribute to paulocoutinhox/axmol-bomb-test development by creating an account on GitHub.
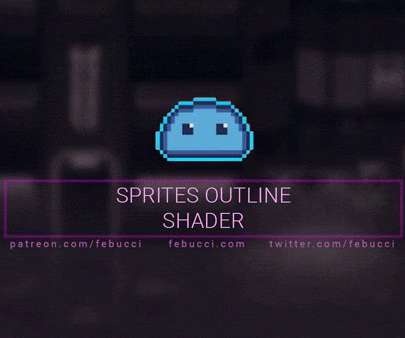
In this “Unity Sprite Outline” tutorial we’ll discover how to create both a “Sprite Innerline” and a “Outer Sprite Outline”. Simply, the Inner Sprite Outline shader is drawn “inside” the sprite, while “Outer” is the opposite. Inner Sprite Outline HLSL. Outer Sprite Outline HLSL. Show me the games.
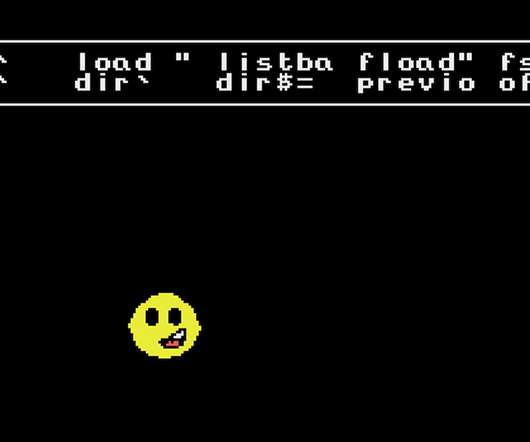
In the last part of this STOS BASIC Tutorial we loaded a sprite but it just sat there, let’s fix that … One of the ways that STOS BASIC helps us to build interactive programs and games is in the sprite movement features because they are not only easy, but they do their thing without our constant input. Why is this useful?
Sprite component is automatically added to the node. I get this Sprite component from the code and set the SpriteFrame I need for it. I display in the console which SpriteFrame is set for the Sprite component. However, instead of a mask on the sprite, visually I see just a rectangle (as if the sprite was not applied).
The concept is so simple that the Unity project has zero code / zero C# scripts. Instead, I leaned heavily on Unity UI and Unity Events for all my game implementation, playing with different button sprites that would disable each game object ("level") in sequence. So this is a game about literally finding beef and clicking on it.
I’m trying to handle the collision of two sprites, i added BoxCollider2D to the sprites. One sprite can jump (changing the y coordinate through animation), named "character ", the other is a static object, named “key”. code for the "character ". code for the “key”. code for the "character ". start () {.
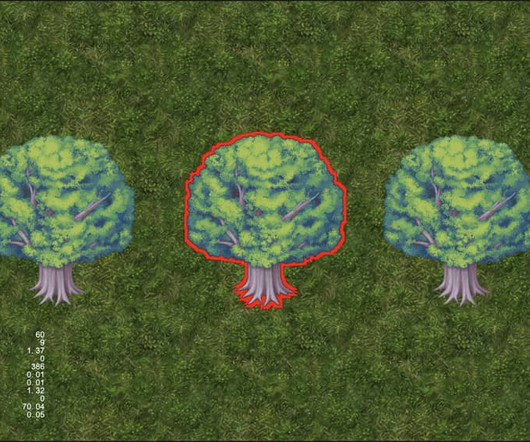
Original: [link] Author: BitByBit Outer Stroke Effect for 2D Sprites Continuing from the previous article Inner Stroke Effect for 2D Sprites Introduction In the last article, we introduced the method of inner stroke and also discussed its pros and cons. Now, the task of expanding by one circle has been completed.
Hello all, I am trying to change the vertices(vertex, index, position, uv) for the sprite in code at runtime. I was able to change the vertices of the sprite frame by assigning the values to sprite.spriteframe.vertices and setting sprite.setVertsDirty(), but in CC3.6 Any suggestion for best way to achieve this in CC3.6
Hello all, I am trying to change the vertices(vertex, index, position, uv) for the sprite in code at runtime. I was able to change the vertices of the sprite frame by assigning the values to sprite.spriteframe.vertices and setting sprite.setVertsDirty(), but in CC3.6 Any suggestion for best way to achieve this in CC3.6
Hello all, I am trying to change the vertices(vertex, index, position, uv) for the sprite in code at runtime. I was able to change the vertices of the sprite frame by assigning the values to sprite.spriteframe.vertices and setting sprite.setVertsDirty(), but in CC3.6 Any suggestion for best way to achieve this in CC3.6
Hello all, I am trying to change the vertices(vertex, index, position, uv) for the sprite in code at runtime. I was able to change the vertices of the sprite frame by assigning the values to sprite.spriteframe.vertices and setting sprite.setVertsDirty(), but in CC3.6 Any suggestion for best way to achieve this in CC3.6
I’m building demo for a top-down shooter and I want the sprite to aim and rotate where the mouse is pointing. I’m having trouble getting the sprite to rotate correctly. It only goes 180 and then back to 0, not going a full 360. mousePos.y - center.y); const angle = Vec2.angle(direction,
Hello, before refering me to the tests or explaining in the theory what a shader is and how code it, can someone actually share a simple working code to apply to a sprite? I have been researching for a week now through old threads and tutorials all over the internet and the code has completly change in cocos2dx 4.0,
Hi everyone, Im working with Cocos Creator 3.8.2 , and Im implementing orientation changes dynamically on Android when switching scenes. setOrientation", "Activity is null!") ; return; } Log.d(TAG, It looks like the orientation change is happening too early , rather than in sync with the scene transition.
According to my initial code, it looks like that intersectsRect() doesn’t work in world space. spriteAWorldPos.y, spriteA->getContentSize().width, width, spriteA->getContentSize().height); height); if (spriteAWorldRect.containsPoint(Vec2(spriteBWorldPos.x, spriteBWorldPos.y)) ||. spriteBWorldPos.y + spriteB->getContentSize().height)))
by converting code from graphics-assembler from CC2.4 but facing one issue depending on the sprite type mesh which is in CC2.4 Hello @zhangxm , I was able to modify the vertex data in CC3.6 where there is a function to create render data renderData.createFlexData but I could not find any way to do it in CC3.6. Since in CC3.6
Maybe someone has a better way/idea to solve the problem of only having one CCEffect on one Node/Sprite/etc…? I don’t know how to solve it… Complete line of the error: Can someone look at this? Thanks, tL.
Maybe someone has a better way/idea to solve the problem of only having one CCEffect on one Node/Sprite/etc…? I don’t know how to solve it… Complete line of the error: Can someone look at this? Thanks, tL.
Maybe someone has a better way/idea to solve the problem of only having one CCEffect on one Node/Sprite/etc…? I don’t know how to solve it… Complete line of the error: Can someone look at this? Thanks, tL.
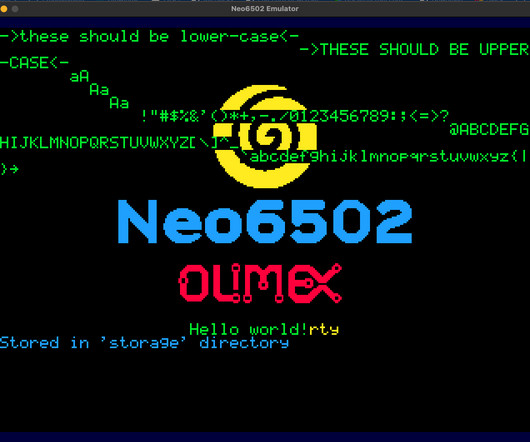
Dungeon game written in C/C++ for the Neo6502 Bit of Background Before We Code the Neo6502 In my Neo6502 review I promised I would come back and write about how to code for the machine. Neo6502 emulator for macOS The second issue was which language should I code in? Get all the latest code and files on Github. Yes please!
height)); I am considered myself as a beginner of GLSL shader coding and would be appreciated if anyone would explain to me and show me how to fix this. Bottom side is the image when my node position is changed. However the effect position is not changed at all. The goal is to make my effect able to follow the position of my node.
is one of the best Javascript platforms for beginners, allowing you to create fun and simple video games without requiring extensive coding knowledge. You can use the library to easily create scenes, add layers, build sprites, handle actions and collisions, add key events, and so much more. This article will discuss Kaboom.js
I installed extensions in VS C (Cocos Effect, Shader languages support for VS Code) my next thought was to get into the shader to try working with the texture there, but I ran into difficulties: 1.) I want to achieve the effect - “so that the pixels, like water, fill the empty mouth of the river.”
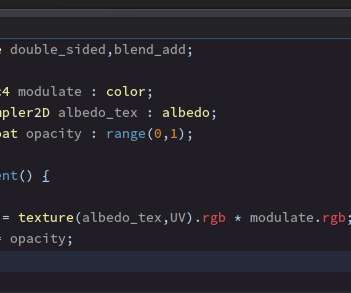
Hello, you may want to change the uv0 settings from the shader code. So 0 means the far left side of the sprite and 1 represents the far right side of the sprite. In the example they show on the manual, they made it so that the effect changes along the x-axis from the uv0.x It is important to know that the uv0.x
I have these lines of code. active = false; When this chunks of code was executed, banker3 and player3 remained on screen. this.player1.active active = false; this.player2.active active = false; this.player3.active active = false; this.banker1.active active = false; this.banker2.active active = false; this.banker3.active
I have these lines of code. active = false; When this chunks of code was executed, banker3 and player3 remained on screen. this.player1.active active = false; this.player2.active active = false; this.player3.active active = false; this.banker1.active active = false; this.banker2.active active = false; this.banker3.active
I have these lines of code. active = false; When this chunks of code was executed, banker3 and player3 remained on screen. this.player1.active active = false; this.player2.active active = false; this.player3.active active = false; this.banker1.active active = false; this.banker2.active active = false; this.banker3.active
I have these lines of code. active = false; When this chunks of code was executed, banker3 and player3 remained on screen. this.player1.active active = false; this.player2.active active = false; this.player3.active active = false; this.banker1.active active = false; this.banker2.active active = false; this.banker3.active
I have these lines of code. active = false; When this chunks of code was executed, banker3 and player3 remained on screen. this.player1.active active = false; this.player2.active active = false; this.player3.active active = false; this.banker1.active active = false; this.banker2.active active = false; this.banker3.active
best way to debug this kind of bugs is to activate physic debugging, add this to your code. onLoad() { PhysicsSystem2D.instance.debugDrawFlags = EPhysics2DDrawFlags.Aabb | EPhysics2DDrawFlags.Pair | EPhysics2DDrawFlags.CenterOfMass | EPhysics2DDrawFlags.Joint | EPhysics2DDrawFlags.Shape; }
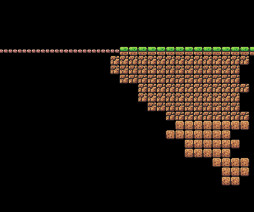
For now, I settled on the ground generation approach (piece of ground->bridge->piece of ground) At first I wanted to attach the code, but I think it would be better to try to explain the meaning of the generation. Then I generate nodes (sprites) from this array and add them to the playing field. Got 3,490 triagle and 4 FPS.
Applying a gradient shader with 5 colors to the label works fine, but applying the same shader to the spirte doesn’t work, and the 2-color graident in the code I posted earlier doesn’t work either. Is there a difference between applying the material to the sprite and the label?
I was about to have to start checking pixels for alpha values… I was thinking about a less expensive way to accommodate circular buttons that could potentially be added to cocos natively… I realize the button component event system needs a node for the target because the event system works on Nodes… but I wonder if there is a way to set it up where (..)
Easing Into Code Summary In this tutorial, we dive into GameMaker Studio 2 and learn the basics of creating a sprite, an object, and writing our first line of code. Give it a name like First Code Press. So over on the resources, you can right click and create Sprite. So the S Sprite.
To explain the idea of how shaders work, let's consider a very simple shader for drawing a sprite to the screen. Our sprite is 32x32 pixels in size, and it must be drawn at some position. The following OpenGL code sends the sprite to the shader for drawing: OpenGL Commands. Vertex Program. Multiply by 2. Substract (1, 1).
We organize all of the trending information in your field so you don't have to. Join 5,000+ users and stay up to date on the latest articles your peers are reading.
You know about us, now we want to get to know you!
Let's personalize your content
Let's get even more personalized
We recognize your account from another site in our network, please click 'Send Email' below to continue with verifying your account and setting a password.


Let's personalize your content