This site uses cookies to improve your experience. To help us insure we adhere to various privacy regulations, please select your country/region of residence. If you do not select a country, we will assume you are from the United States. Select your Cookie Settings or view our Privacy Policy and Terms of Use.
Cookie Settings
Cookies and similar technologies are used on this website for proper function of the website, for tracking performance analytics and for marketing purposes. We and some of our third-party providers may use cookie data for various purposes. Please review the cookie settings below and choose your preference.
Used for the proper function of the website
Used for monitoring website traffic and interactions
Cookie Settings
Cookies and similar technologies are used on this website for proper function of the website, for tracking performance analytics and for marketing purposes. We and some of our third-party providers may use cookie data for various purposes. Please review the cookie settings below and choose your preference.
Strictly Necessary: Used for the proper function of the website
Performance/Analytics: Used for monitoring website traffic and interactions
Setup Tool for XR Simulator The Meta XR Simulator is the counterpart of the Godot XR Editor as it allows developers to test XR applications directly on their computer (Windows or macOS), removing the need to constantly put the headset on and off, thus leading to faster iteration. See the XR Simulator documentation for more information!
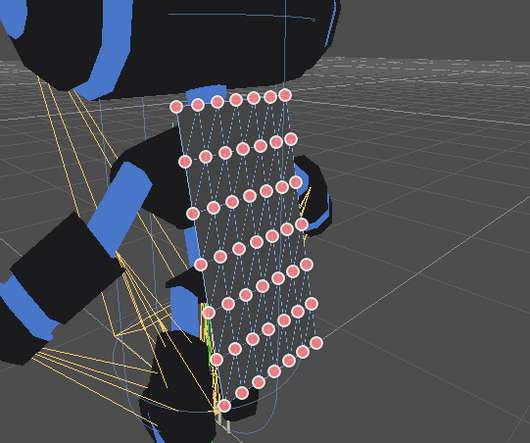
Analysis The whole effect can be split into two parts, one for the simulation of the mesh and one for the rendering of the mesh. Simulation of this piece, for the time being, according to the algorithm of others, it is not difficult to copy. So I researched the code and prepared to port it to Cocos.
GH-98163 ) CSGMesh3D now explicitly requires the mesh to be manifold. A manifold mesh must be closed, have each edge connected to only two faces, and have volume. Commonly, this means that it needs to be a watertight mesh without any holes and where you can never see the backside of the triangles. (
The latest version of the NVIDIA PhysX 5 SDK is now available under the same open source license terms as NVIDIA PhysX 4 to help expand simulation workflows and. It is a powerful simulation engine currently used by industry leaders for robotics, deep reinforcement learning, autonomous driving, factory automation, and visual effects.
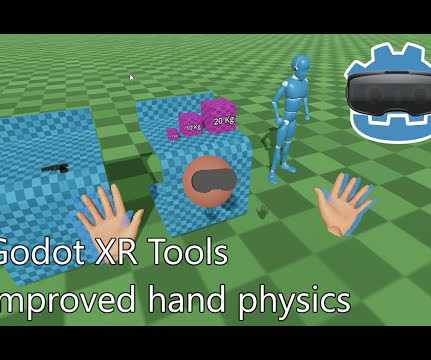
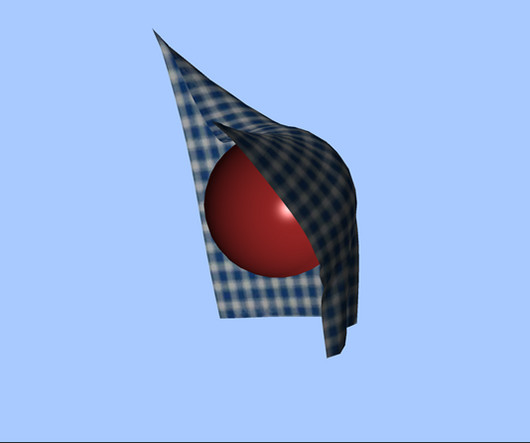
It is now possible to create cloth simulation and soft bodies by just adding a node. To create a Soft Ball is to add a SoftBody node and add a mesh to it, in this case I used a sphere maded in Blender (I used a custom mesh because the sphere created dynamically by Godot is not completely closed, but just for a test you can use it).
Cylinder collision shape. One of the requirements was adding support for cylinder shapes in Godot's custom collision detection system. Technical details: Godot Physics is almost entirely based on the SAT algorithm for collision detection, but cylinders can't entirely rely on that. Heightmap collision shape.
Geometry: Build with LODs from the start, batch static meshes, and constrain polycounts based on hardware targets. Filter collisions with layers, and calibrate FixedUpdate() intervals to suit gameplay needs. Textures: Use texture atlases, apply compression formats suited to your target platform (e.g.,
This is where pseudolocalization comes in: it simulates localization so that the project's robustness when it comes to changes in locale can be checked regularly during development and any problem regarding that can be detected early on. The second task will introduce a new object for the simulation of wind.
The Dodge The Creeps C# demo running on the iOS Simulator. Import: Respect 'mesh compression' editor import option in Assimp and glTF importers ( GH-39134 ). Physics: Test collision mask before creating constraint pair in Godot physics broadphase 2D and 3D ( GH-39399 ). 2D batching for the GLES2 renderer.
Inside the BP_Player editor, click on the mesh component in the Component tab at the top right corner: Now inside the Details tab on the right side, under the Mesh option for the Skeletal Mesh 3D object we are going to select the Mannequin 3D object: But make sure that you select the one which is located in the Art folder.
We organize all of the trending information in your field so you don't have to. Join 5,000+ users and stay up to date on the latest articles your peers are reading.
You know about us, now we want to get to know you!
Let's personalize your content
Let's get even more personalized
We recognize your account from another site in our network, please click 'Send Email' below to continue with verifying your account and setting a password.


Let's personalize your content