This site uses cookies to improve your experience. To help us insure we adhere to various privacy regulations, please select your country/region of residence. If you do not select a country, we will assume you are from the United States. Select your Cookie Settings or view our Privacy Policy and Terms of Use.
Cookie Settings
Cookies and similar technologies are used on this website for proper function of the website, for tracking performance analytics and for marketing purposes. We and some of our third-party providers may use cookie data for various purposes. Please review the cookie settings below and choose your preference.
Used for the proper function of the website
Used for monitoring website traffic and interactions
Cookie Settings
Cookies and similar technologies are used on this website for proper function of the website, for tracking performance analytics and for marketing purposes. We and some of our third-party providers may use cookie data for various purposes. Please review the cookie settings below and choose your preference.
Strictly Necessary: Used for the proper function of the website
Performance/Analytics: Used for monitoring website traffic and interactions
A shader is a script where you write code that determines how the colors will be rendered based on various scenarios like lighting and material configuration. Inside of that folder Right Click -> Create -> Shader -> Standard Surface Shader: Give the shader script name SeeThrough and open it in Visual Studio.
Notable changes are in-editor class reference translations (so far Chinese (Simplified), Spanish, and some French), some new rendering features (high quality glow mode, 3D point light attenuation option), and a number of C# marshalling fixes. Physics: Improved logic for KinematicBody collision recovery depth ( GH-53451 ).
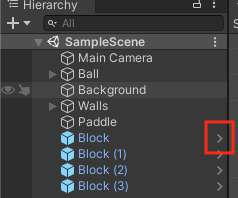
For example, you can select one Block in the Hierarchy window, and then shift + left-click the last block, and it will select all of the blocks in between. Now if you edit the “Color” of the Sprite Renderer, you will see that all of the selected blocks get the same change. Create A Prefab. Edit A Prefab. About The Script.
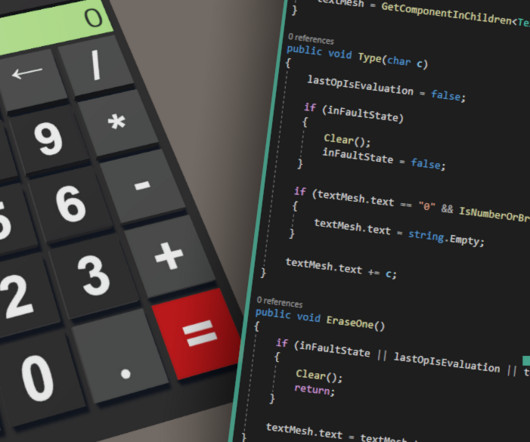
In the TMP Importer window, click on "Import TMP Essentials" Finally, expand the Calc game object in the Hierarchy tab. Note that the Render Mode is set to World Space. Invoke(token); } } Avoid comparing positions with the equality operator, due to rounding errors you may encounter in floating-point calculations.
2D batching for the GLES2 renderer. While most rendering work was postponed for the 4.0 release with its new Vulkan-based renderer, our contributors lawnjelly and Clay ( clayjohn ) decided to give some more attention to the 3.2 Better handling of Variant s pointing to released Object s. Porting existing 3.2 with free() ).
2D batching for the GLES2 renderer , thanks to lawnjelly and Clay ( clayjohn ). The new 2D batching is only implemented for the GLES2 renderer, so if you use GLES3 you will not be able to benefit from it in this build. Note that currently, only rects are batched (TileMaps, draw_rect , text rendering, etc.), stable build.
2D batching for the GLES2 renderer , thanks to lawnjelly and Clay ( clayjohn ). The new 2D batching is only implemented for the GLES2 renderer, so if you use GLES3 you will not be able to benefit from it in this build. Note that currently, only rects are batched (TileMaps, draw_rect , text rendering, etc.), Notably, Godot 3.2.2
2D batching for the GLES2 renderer , thanks to lawnjelly and Clay ( clayjohn ). The new 2D batching is only implemented for the GLES2 renderer, so if you use GLES3 you will not be able to benefit from it in this build. Note that currently, only rects are batched (TileMaps, draw_rect , text rendering, etc.), Notably, Godot 3.2.2
So I’m going into the project tab and I’m going to click on assets to get to the main assets folder of Unity, and I’m going to right-click in here and create a new folder called Scripts and we are going to create our first script. (00:59) Like for example, we have the mesh renderer that we have up here. (01:55)
Manage game collectibles like gold, money or points. However, if we jump back into our inspector tab and select “is trigger”, essentially, we’re changing this object from a collision object to a trigger object. So what we’re saying here essentially, is that “on collision” we want Bolt to look for the tag of this particular game object.
Since DAP is a platform-agnostic protocol, it also shouldn't require any custom plugins or anything of the sort; just point your compatible editor to the right port ( 6009 by default) , and you're good to go! With these, you can already start debugging projects with your text editor of choice.
We organize all of the trending information in your field so you don't have to. Join 5,000+ users and stay up to date on the latest articles your peers are reading.
You know about us, now we want to get to know you!
Let's personalize your content
Let's get even more personalized
We recognize your account from another site in our network, please click 'Send Email' below to continue with verifying your account and setting a password.


Let's personalize your content