This site uses cookies to improve your experience. To help us insure we adhere to various privacy regulations, please select your country/region of residence. If you do not select a country, we will assume you are from the United States. Select your Cookie Settings or view our Privacy Policy and Terms of Use.
Cookie Settings
Cookies and similar technologies are used on this website for proper function of the website, for tracking performance analytics and for marketing purposes. We and some of our third-party providers may use cookie data for various purposes. Please review the cookie settings below and choose your preference.
Used for the proper function of the website
Used for monitoring website traffic and interactions
Cookie Settings
Cookies and similar technologies are used on this website for proper function of the website, for tracking performance analytics and for marketing purposes. We and some of our third-party providers may use cookie data for various purposes. Please review the cookie settings below and choose your preference.
Strictly Necessary: Used for the proper function of the website
Performance/Analytics: Used for monitoring website traffic and interactions
Its capabilities for VR content creation include comprehensive 3D modeling tools, advanced texturing and shading, animation and rigging, and integration with VR Devices. You can upload your custom character, customize your rigging options, and export characters and animations in multiple formats.
. * Be sure to copy the entire folder and not just the contents of it. You will need to navigate to your Applications, open the Blender folder, Right click (secondary click) on the Blender application and Show Package Contents. Has a bone based rig. Has no mesh modifiers. The armature and mesh objects are on Layer 1.
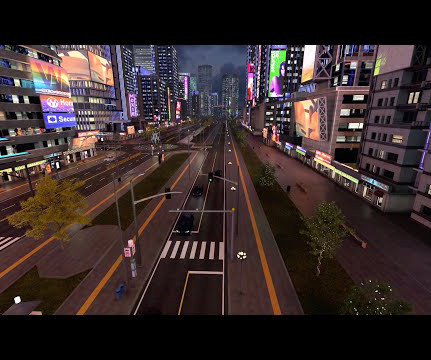
The course content helped walk me through pretty much all the steps of Metahuman creation. So handling a full landscape with high-resolution Megascan foliage mesh was painful. I took it as a chance to add human characters as well as a challenge to go through the Metahuman implementation. Lighting the scene.
It’s the perfect replacement for Unity’s UI Text and the legacy Text Mesh. . Use Unity Timeline to create cinematic content, game-play sequences, audio sequences, and complex particle effects. . High quality rigged low poly animals with amazing animations, stunning demo scenes, multiple textures, sounds and Wander Script.
Right-click on the Project content tab and from the context menu that appears, select Export Package. " Next, drag and drop the previously exported.unitypackage file into the Project content tab. Importing Samples To make our life a bit easier, let's import an XR rig from the Unity sample assets. And that's it!
The beta release of Audio2Face includes the highly anticipated ‘character transfer’ feature, enabling users to retarget animation onto a custom 3D facial mesh. With the Audio2Face app, Omniverse users can generate AI-driven facial animation from audio sources.
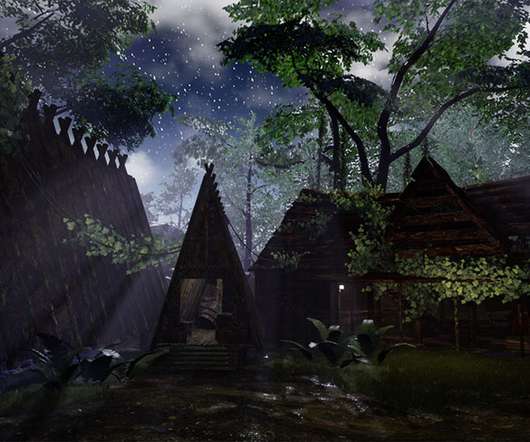
Although we liked the idea of the original lamp posts, they didn't quite mesh well with the remote and run-down vibe of the Dalamase. link] Rigging / Animation. The new versions of the lamp posts that Hassan whipped up this sprint are much more suited to an abandoned fishing village.
If you've been keeping up with our dev blogs already, you know that they're pretty hefty when it comes to content. Well, we've been carefully and strategically saving some of our best content in anticipation of finally launching the official Kristala Patreon campaign. Rigging / Animation. Why, you might ask?
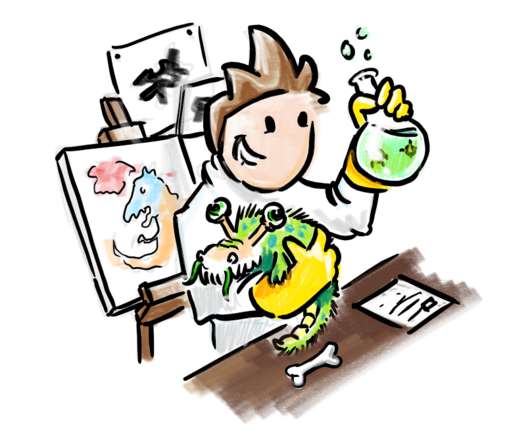
An easier step would have been to simply transform the sculpted mesh into a new object in Cinema4d. I rigged the mesh according to the creature’s anatomy and tweaked around the settings for a while. And that’s still a big issue with procedural generation for visual content.
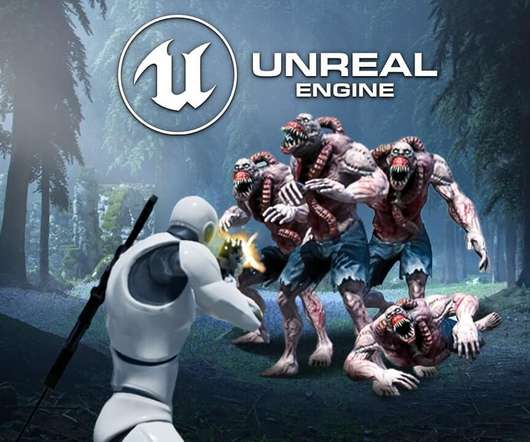
Inside the Content browser I’ve created a new folder and named it FPS_ZombieHorde: Inside this folder we’ll store everything we create for our game project. To add the crosshair, select the Content folder, then Right Click and Show In Expolorer: Inside the zombie horde assets folder you’ll find a folder named Crosshair.
We organize all of the trending information in your field so you don't have to. Join 5,000+ users and stay up to date on the latest articles your peers are reading.
You know about us, now we want to get to know you!
Let's personalize your content
Let's get even more personalized
We recognize your account from another site in our network, please click 'Send Email' below to continue with verifying your account and setting a password.


Let's personalize your content