This site uses cookies to improve your experience. To help us insure we adhere to various privacy regulations, please select your country/region of residence. If you do not select a country, we will assume you are from the United States. Select your Cookie Settings or view our Privacy Policy and Terms of Use.
Cookie Settings
Cookies and similar technologies are used on this website for proper function of the website, for tracking performance analytics and for marketing purposes. We and some of our third-party providers may use cookie data for various purposes. Please review the cookie settings below and choose your preference.
Used for the proper function of the website
Used for monitoring website traffic and interactions
Cookie Settings
Cookies and similar technologies are used on this website for proper function of the website, for tracking performance analytics and for marketing purposes. We and some of our third-party providers may use cookie data for various purposes. Please review the cookie settings below and choose your preference.
Strictly Necessary: Used for the proper function of the website
Performance/Analytics: Used for monitoring website traffic and interactions
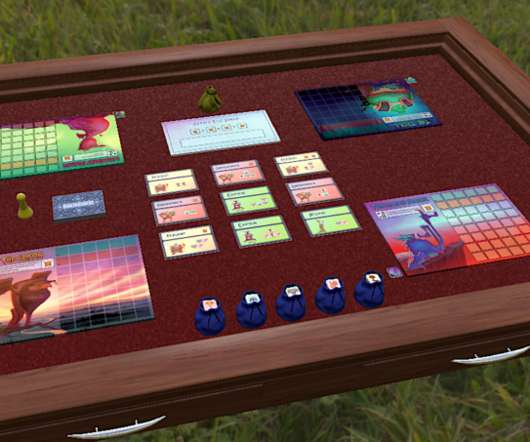
I’d like to explain to you exactly how to create a demo of your board game on Tabletop Simulator, but first let’s discuss what I perceive as its five main benefits: 1. How to Make a Tabletop Simulator Demo of Your Board Game. In this order, click Create , Single , Classic , then Custom. Click Table on the menu.
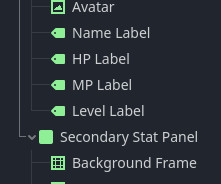
This will hold our anchor points. The two constants for ShowKey and HideKey will store the text string we add to the anchor points on each panel. Show or Hide it, depending on whether the tile has a unit on it. And two functions that we’ve seen before to handle the position of the panels.
Mhz with all signals available via connector RP2040 with 2MB of SPI Flash, 64k RAM available to the processor HDMI output with 320 x 240 256 colour display, higher resolutions appear on Apple/Oric emulators 20k Graphics RAM for tiles and 128 sprites up to 32×32 pixels. The post Neo6502 Review appeared first on Retro Game Coders.
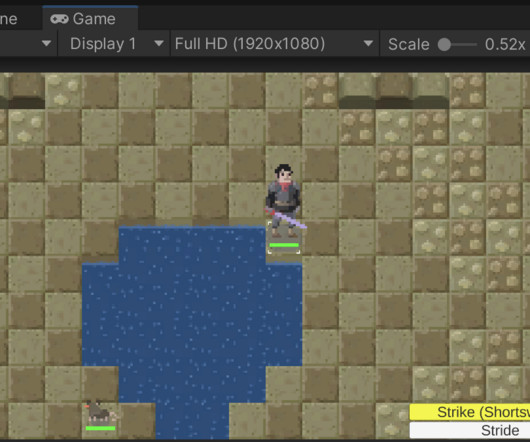
A lot of people asked about making 2D maps and how to use different types of tiles like water vs dirt. For this lesson I created a couple of simple images to use for tile maps. This asset will be sort of abstract data, and can be “skinned” with specific tiles at a later point.
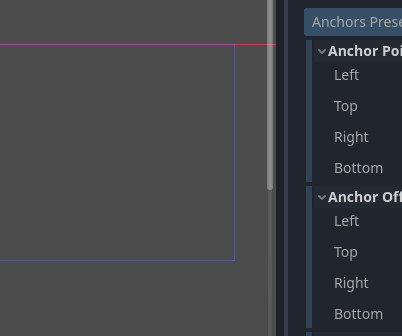
This time we’ll be working on some scripts to make working with anchor points in code a bit simpler, and allow us to animate some things in our UI. This time for Anchor Points set Left to.4, Click on the ParentPanel and create 3 child nodes of the type ReferenceRect and name them VRect, HRect and FullRect respectively.
And based on the current situation, or plans for what’s to come, you can even pivot your whole build at one point or another. In this test recording, a robot created by the Botcube is represented with a Mutant tile, but will have their own once released. Botcube compatibility highlighting demo. It’s a cube.
We organize all of the trending information in your field so you don't have to. Join 5,000+ users and stay up to date on the latest articles your peers are reading.
You know about us, now we want to get to know you!
Let's personalize your content
Let's get even more personalized
We recognize your account from another site in our network, please click 'Send Email' below to continue with verifying your account and setting a password.


Let's personalize your content