This site uses cookies to improve your experience. To help us insure we adhere to various privacy regulations, please select your country/region of residence. If you do not select a country, we will assume you are from the United States. Select your Cookie Settings or view our Privacy Policy and Terms of Use.
Cookie Settings
Cookies and similar technologies are used on this website for proper function of the website, for tracking performance analytics and for marketing purposes. We and some of our third-party providers may use cookie data for various purposes. Please review the cookie settings below and choose your preference.
Used for the proper function of the website
Used for monitoring website traffic and interactions
Cookie Settings
Cookies and similar technologies are used on this website for proper function of the website, for tracking performance analytics and for marketing purposes. We and some of our third-party providers may use cookie data for various purposes. Please review the cookie settings below and choose your preference.
Strictly Necessary: Used for the proper function of the website
Performance/Analytics: Used for monitoring website traffic and interactions
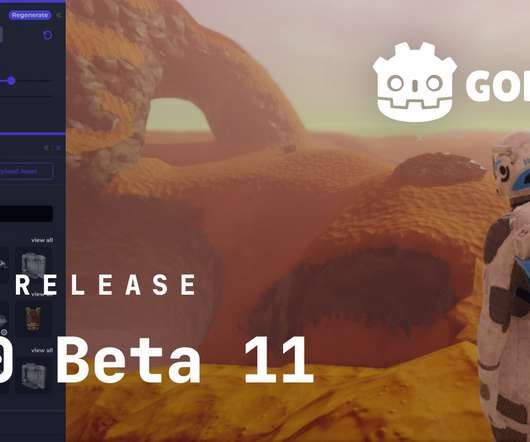
This beta includes a few big changes which may interest a lot of users: Animated sprites, both 2D and 3D, now support options for more precise timing of individual frames ( GH-65609 ). Editor: Bring back the renderer options button on the main editor ( GH-70500 ). Rendering: Add options for sorting transparent objects ( GH-69998 ).
With the right tools, you can turn simple sprites into stunning displays of art and movement. Other Specialized 2D Tools Pyxel Edit For games that use retro pixel art, Pyxel Edit is a must-have tool. TexturePacker Optimizing sprite sheets is important for better performance, especially on mobile devices.
To explain the idea of how shaders work, let's consider a very simple shader for drawing a sprite to the screen. Our sprite is 32x32 pixels in size, and it must be drawn at some position. The following OpenGL code sends the sprite to the shader for drawing: OpenGL Commands. Multiply by 2. Substract (1, 1). 1 range for drawing).
To do that we will edit the spaceship sprite by clicking on it in the project window. Then set the pixels per unit to 64 and click apply to update the sprites. So we need to edit those as well. So we need to edit those as well. Select the player object and edit the collider so it is now 0.2 Mini Map Mask.
This beta includes a few big changes which may interest a lot of users: Animated sprites, both 2D and 3D, now support options for more precise timing of individual frames ( GH-65609 ). Editor: Bring back the renderer options button on the main editor ( GH-70500 ). Rendering: Add options for sorting transparent objects ( GH-69998 ).
Please test it on Windows (any version) to confirm that editing a project from the project manager, and running a project from the editor, both work fine. Editor: Expose ScriptEditor::edit to scripting ( GH-55709 ). Import: Fix texture atlas generation when source sprite is larger than generated atlas ( GH-55094 ).
x branch used OpenGL ES 2.0 / OpenGL 2.1 ( GLES2 ) as its rendering API. This worked well, but had many limitations preventing us to use more modern rendering techniques. all rendering code was rewritten to use the more modern OpenGL ES 3.0 / OpenGL 3.3 renderer was removed. renderer was removed. OpenGL ES 2.0
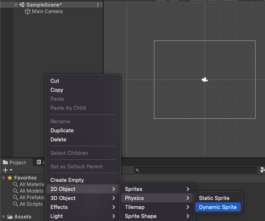
Right-click in the Hierarchy window, and choose “2D Object -> Physics -> Dynamic Sprite” Congratulations, you have just created a GameObject. SpriteRenderer – is what makes the object show up in the camera. It determines what picture to show, called a Sprite. Move the Wall beneath the Ball.
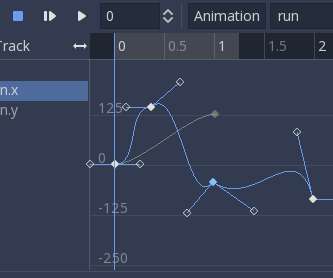
Animation editing was one of the first distinctive Godot features. Changing sprite textures, colors, animation frames, calling functions, playing animations in other animation players, playing sounds, etc. The new code is more modular, and allows extending track editing to show custom visualization. Key editing in inspector.
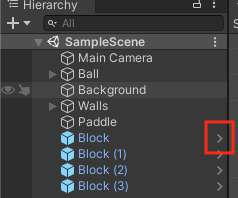
Edit Blocks. You could edit them one by one, but that would not scale well, especially if you had dozens or more blocks to fix. Unity does actually have a feature that allows you to perform a bulk edit. Unfortunately, some of the changes that you might want to make will not be supported by a bulk edit, such as in custom editors.
For Renderer, I chose Forward+ because I think it is somewhere between URP and HDRP. The first thing to download will be the sprites and textures from the original tutorial. You can either click that, or once you are done editing all textures, you can click save scene in the Scene menu and it will save any unsaved materials.
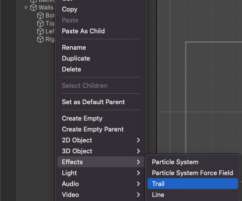
Unity has already enabled us to easily accomplish a ton of milestones, such as renderingsprites on screen, and making objects move and collide with each other. Right-click on the Script, and choose “Open” to open your script for editing. In order to help the user keep track of the ball, we can add a Trail Renderer.
Set key parameters for your model, like size, shape, or complexity, and Kaidim will automatically adjust the geometry as you make edits. Find character sprites, environment tiles, UI elements, sound effects, and music tracks, all contributed by artists and musicians within the game development community.
Edit: Based on community feedback and to avoid confusion (DLScript is not yet another domain specific language), the module was renamed to GDNative. You want a different renderer? I just created a Node2D as the root node, added a KinematicBody2D and a Sprite using the lovely default icon. I want to keep this section short.
I used an GUILayout.Label with an empty string as a spacer between the editing buttons and buttons for saving or loading. There is a project asset at "Assets -> Sprites -> SelectionIndicator" which is cut up into multiple sprites. Bump up its "Order In Layer" to make sure it will render on top of the tile map.
This allows for simplifying some behaviors, such as using a Viewport directly as a texture in a Sprite, or creating button groups without a special control. Better project settings editing. Next months will be focused in closing the remaining renderer features and stabilizing Godot for an alpha release. Local resources.
It holds a single sprite that is filled with white pixels. We will accomplish this by using a second tile map that renders on top of the board tile map. Select the Assets -> Prefabs -> Grid and then “Open” it for editing. Next, download and unzip then import this package. Finally add the BoardHighlightSystem.
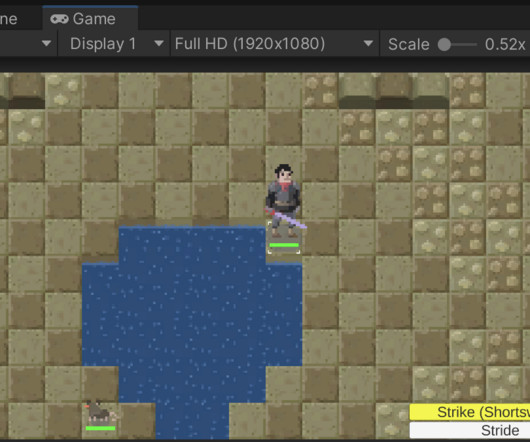
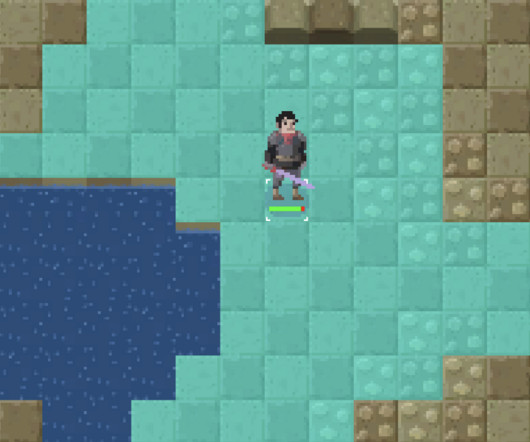
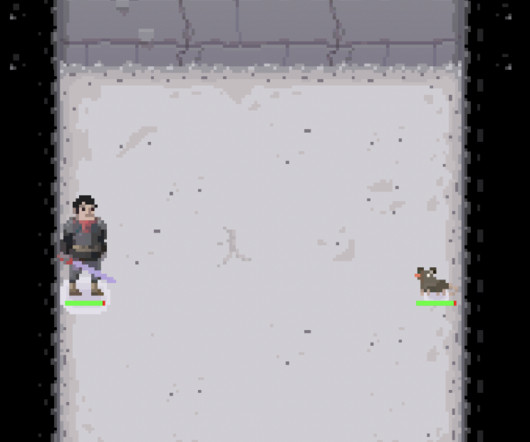
We will add animated sprites to represent both a hero and monster. It includes a collection of prefabs, scripts and sprites that we can use to play with. New Sprites There are three new sprites included. SetLayerOrder can be used to make sure that the various spriterenderers will appear in the correct order.
We organize all of the trending information in your field so you don't have to. Join 5,000+ users and stay up to date on the latest articles your peers are reading.
You know about us, now we want to get to know you!
Let's personalize your content
Let's get even more personalized
We recognize your account from another site in our network, please click 'Send Email' below to continue with verifying your account and setting a password.


Let's personalize your content