This site uses cookies to improve your experience. To help us insure we adhere to various privacy regulations, please select your country/region of residence. If you do not select a country, we will assume you are from the United States. Select your Cookie Settings or view our Privacy Policy and Terms of Use.
Cookie Settings
Cookies and similar technologies are used on this website for proper function of the website, for tracking performance analytics and for marketing purposes. We and some of our third-party providers may use cookie data for various purposes. Please review the cookie settings below and choose your preference.
Used for the proper function of the website
Used for monitoring website traffic and interactions
Cookie Settings
Cookies and similar technologies are used on this website for proper function of the website, for tracking performance analytics and for marketing purposes. We and some of our third-party providers may use cookie data for various purposes. Please review the cookie settings below and choose your preference.
Strictly Necessary: Used for the proper function of the website
Performance/Analytics: Used for monitoring website traffic and interactions
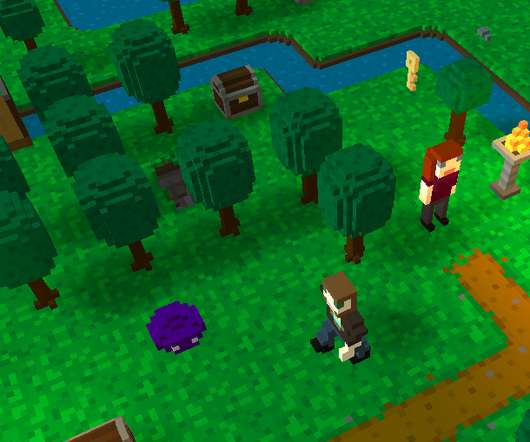
My goal here is to improve the UX of working with tiles, making it both easier to use and more powerful. tiles editor series: (you are here) Tiles editor progress report #1. Tiles editor progress report #2. Tiles editor progress report #3. Tiles editor progress report #4. Tiles editor progress report #5.
Two months have passed since my last progress report on the tiles editor rework. tiles editor series: Tiles editor progress report #1. you are here) Tiles editor progress report #2. Tiles editor progress report #3. Tiles editor progress report #4. Tiles editor progress report #5. Here are the news.
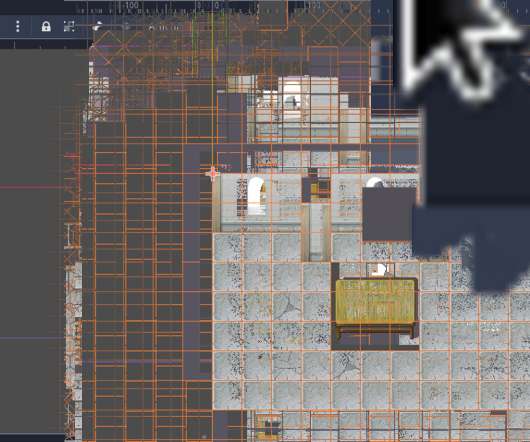
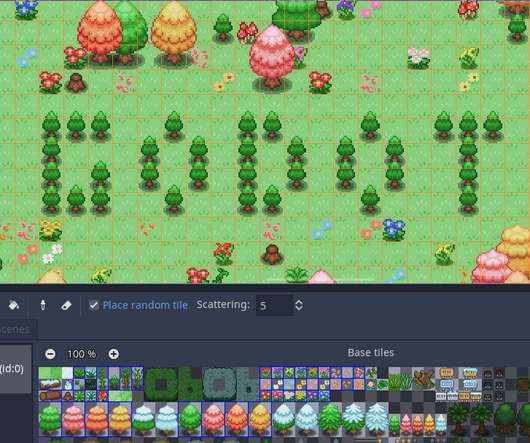
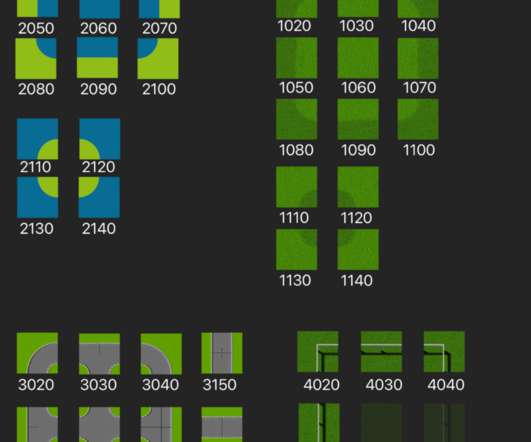
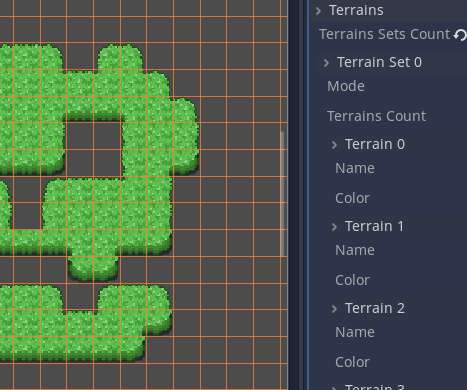
I made a “master sheet” with all the tiles to keep things organized. I implemented a new material system for tiles. In addition to the visible texture, each tile had a lower resolution bitmap which defined the material at a given spot. They are now baked into tiles, so map editing is much easier.
Creating and Working with Textures in Affinity Designer Affinity Designer Video tutorials These two new videos focus on the use of textures in Affinity Designer. Create and work with textures from photos taken with your mobile phone. It’s not entirely necessary for most texturing tasks. older tutorials ].
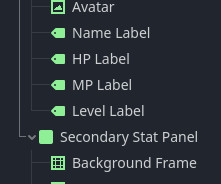
In general the primary panel will be used to display info of the unit on the current tile, or the unit performing an action, while the secondary panel will be mostly for the target of actions, such as an attack or healing. The panels don’t get updated until we are ready to move them back on screen later.
Resources just feels like it should be things like 3d Models and Textures, but if you want to stick with the original, that’s fine. The first thing to download will be the sprites and textures from the original tutorial. 02_TacticsRPG_Textures.zip Unzip the folder and move Dirt.png into the Textures folder.
You can use it to develop games and the personal edition is free. You Mostly use it for making 3D models, adding texture to your 3D models as well as rigging and animating them. In addition, it features its own game engine, but in terms of 3D modeling, you can also use it for rigging, animating, texturing, and more. Conclusion.
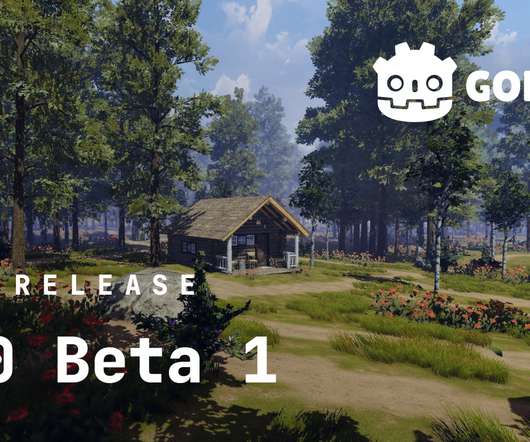
Please test it on Windows (any version) to confirm that editing a project from the project manager, and running a project from the editor, both work fine. Editor: Expose ScriptEditor::edit to scripting ( GH-55709 ). Import: Fix texture atlas generation when source sprite is larger than generated atlas ( GH-55094 ).
Sketch a rough concept, set some parameters, and Dimensions will generate 3D models, textures, and animations. Set key parameters for your model, like size, shape, or complexity, and Kaidim will automatically adjust the geometry as you make edits. It can even help define core loops and progression systems.
That is, instead of rendering your animation frame by frame on your local PC, the job is being split into multiple frames (or even tiles) and each machine in the render farm renders just some of them. After the render is finished, you download your files and can use your favorite video editing software to further process it.
Auto-tiling in tile maps. makes up for it by providing an extremely powerful default material (which supports detail textures, triplanar mapping and other nice features) and an extremely easy-to-use shader language. Godot will pick the right compression for textures when importing for mobile, and supply them over the network.
Rendering: Fixes depth sorting of meshes with transparent textures ( GH-50721 ). GLES3: Allow repeat flag in viewport textures ( GH-34008 ). Rendering: Fixes depth sorting of meshes with transparent textures ( GH-50721 ). Scene: Fix loading packed scene with editable children at runtime ( GH-49664 ).
It may be possible to edit your project file manually, but otherwise it's recommended to let Godot generate a new one. You should also notice a significant bump in textures import speed thanks to the etcpak library, and the new multi-threaded importer. You can probably build half a game with tiles alone!
We organize all of the trending information in your field so you don't have to. Join 5,000+ users and stay up to date on the latest articles your peers are reading.
You know about us, now we want to get to know you!
Let's personalize your content
Let's get even more personalized
We recognize your account from another site in our network, please click 'Send Email' below to continue with verifying your account and setting a password.


Let's personalize your content