This site uses cookies to improve your experience. To help us insure we adhere to various privacy regulations, please select your country/region of residence. If you do not select a country, we will assume you are from the United States. Select your Cookie Settings or view our Privacy Policy and Terms of Use.
Cookie Settings
Cookies and similar technologies are used on this website for proper function of the website, for tracking performance analytics and for marketing purposes. We and some of our third-party providers may use cookie data for various purposes. Please review the cookie settings below and choose your preference.
Used for the proper function of the website
Used for monitoring website traffic and interactions
Cookie Settings
Cookies and similar technologies are used on this website for proper function of the website, for tracking performance analytics and for marketing purposes. We and some of our third-party providers may use cookie data for various purposes. Please review the cookie settings below and choose your preference.
Strictly Necessary: Used for the proper function of the website
Performance/Analytics: Used for monitoring website traffic and interactions
supports advanced global illumination techniques such as lightmapping (including SH lightmapping), Voxel GI (which is fully real-time) and SDFGI (which is a single click, open world GI solution). x point releases (which we are now intending to do more often, allowing several releases per year). Additionally, Godot 4.0
You can download the assets and the complete project for this tutorial by clicking on the button above. Since we’re going to use the assets in the Art folder inside our new FPS Zombie Horde project, locate the folder where you stored your FPS Zombie Horde project. Download The Assets. Creating Our Custom Player Character.
The recent webinar shares how to use Unity’s High Definition Render Pipeline (HDRP) wizard to enable ray-tracing in your Unity project with just a few clicks. The recent webinar shares how to use Unity’s High Definition Render Pipeline (HDRP) wizard to enable ray-tracing in your Unity project with just a few clicks. Pierre: Certainly.
The above words may have seemed too abstract, let’s get straight to the point, the main content of this article. For low-end devices, all effects can be turned off for a smooth user experience ( at 24 ~ 30 fps ). Mesh LOD can be switched not only based on distance but also based on the performance level of devices.
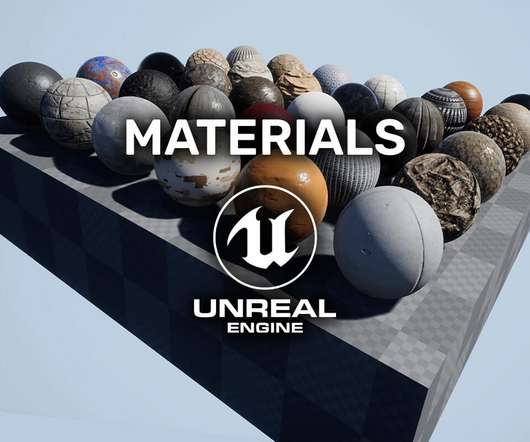
To create a material Right Click -> Material: Give the material a name and double click it to open it in the editor: Inside the editor you’ll see the My_Material node: For your project, this node will have the name same as the one you gave to your material. The Basics Of Materials In Unreal Engine.
We organize all of the trending information in your field so you don't have to. Join 5,000+ users and stay up to date on the latest articles your peers are reading.
You know about us, now we want to get to know you!
Let's personalize your content
Let's get even more personalized
We recognize your account from another site in our network, please click 'Send Email' below to continue with verifying your account and setting a password.


Let's personalize your content