How to render sprite as tiled in cocos creator?
Cocos
JANUARY 3, 2023
How to render sprite as tiled in cocos creator in c++?
 Render Sprite Tile
Cocos
JANUARY 3, 2023
How to render sprite as tiled in cocos creator in c++?
Cocos
FEBRUARY 16, 2023
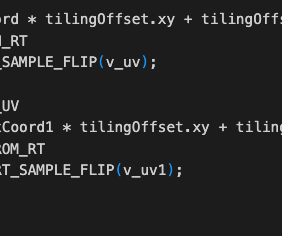
By default, the 3D Shader of Cocos will multiply the tile Tilling and add the Offset, and it also supports the flip repair for RenderTexture. _pass = this.node.getComponent(Sprite).material.passes[0]; Use the water wave effect on the 3D meshes This is only for 3D planes with tiled UV Mapping. x,waveFactor.y-uv0.y); x) / x; v4_0.y
This site is protected by reCAPTCHA and the Google Privacy Policy and Terms of Service apply.
Catnip Games
JUNE 20, 2023
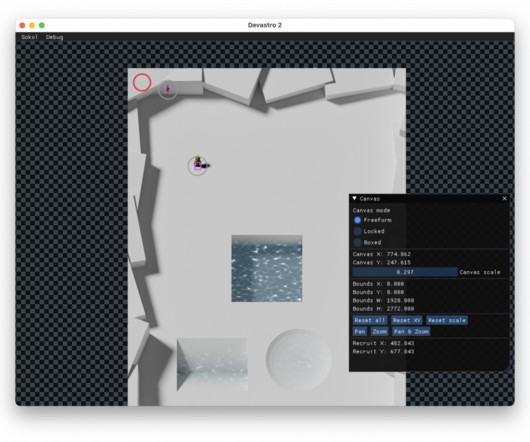
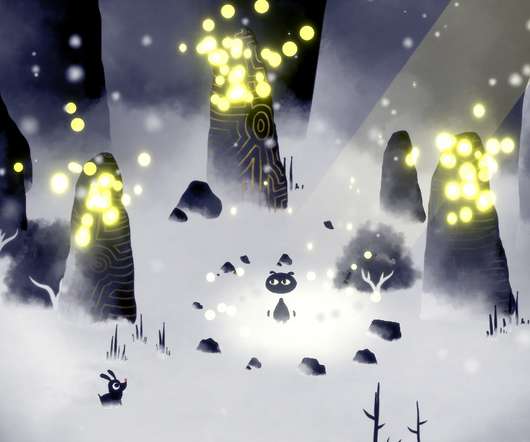
This gives me freedom in level design and saves work making tiles… tileable. I export the rendered terrain from Blender as a RGBA image but with alpha value set to depth. The graphics backend rewrite took a while. However, the situation is now good. Everything is just one big texture. So it’s RGBZ.

Cocos
FEBRUARY 26, 2025
2D Renderable Components Batching Guidelines | Cocos Creator , Please increase the value of BATCHER2D_MEM_INCREMENT under Project Project Settings Macro Configurations for a try.
The Liquid Fire
DECEMBER 29, 2023
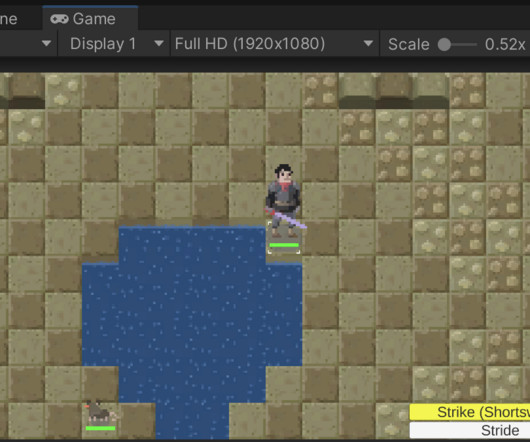
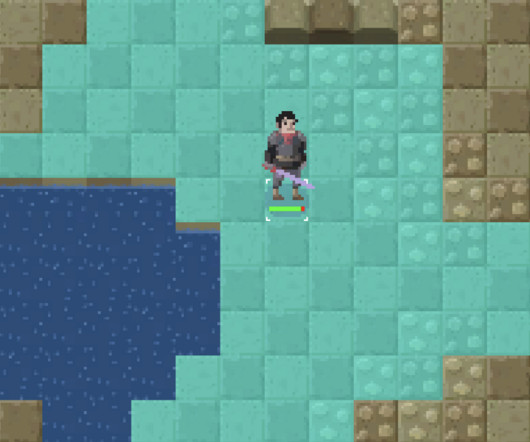
A lot of people asked about making 2D maps and how to use different types of tiles like water vs dirt. For this lesson I created a couple of simple images to use for tile maps. This asset will be sort of abstract data, and can be “skinned” with specific tiles at a later point. They are available in this package here.
Mircosoft Game Dev
NOVEMBER 26, 2021
Import: Fix texture atlas generation when source sprite is larger than generated atlas ( GH-55094 ). Rendering: Fix vertex attribute specification for octahedral compression ( GH-54768 ). Rendering: Update CanvasItem when MultiMesh instance transform changes ( GH-54899 ). iOS: Capture and display xcodebuild output ( GH-54711 ).
The Liquid Fire
NOVEMBER 9, 2023
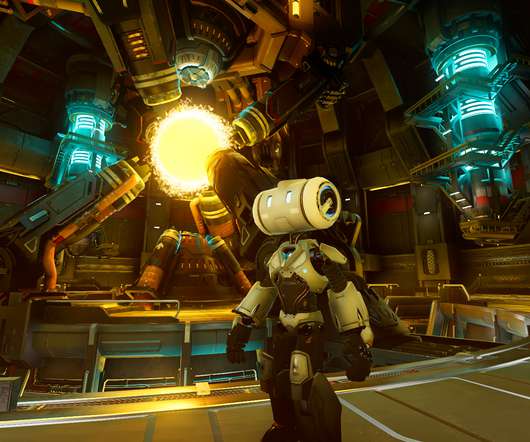
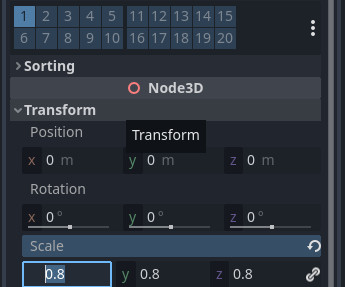
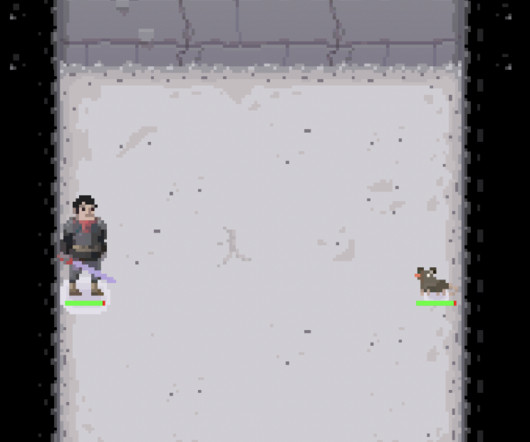
For Renderer, I chose Forward+ because I think it is somewhere between URP and HDRP. The first thing to download will be the sprites and textures from the original tutorial. In the Scene panel right-click on the Tile node and click Add Child Node. The last object we’ll make is the Tile Selection indicator.

Expert insights. Personalized for you.


Let's personalize your content