This site uses cookies to improve your experience. To help us insure we adhere to various privacy regulations, please select your country/region of residence. If you do not select a country, we will assume you are from the United States. Select your Cookie Settings or view our Privacy Policy and Terms of Use.
Cookie Settings
Cookies and similar technologies are used on this website for proper function of the website, for tracking performance analytics and for marketing purposes. We and some of our third-party providers may use cookie data for various purposes. Please review the cookie settings below and choose your preference.
Used for the proper function of the website
Used for monitoring website traffic and interactions
Cookie Settings
Cookies and similar technologies are used on this website for proper function of the website, for tracking performance analytics and for marketing purposes. We and some of our third-party providers may use cookie data for various purposes. Please review the cookie settings below and choose your preference.
Strictly Necessary: Used for the proper function of the website
Performance/Analytics: Used for monitoring website traffic and interactions
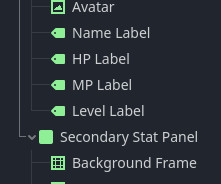
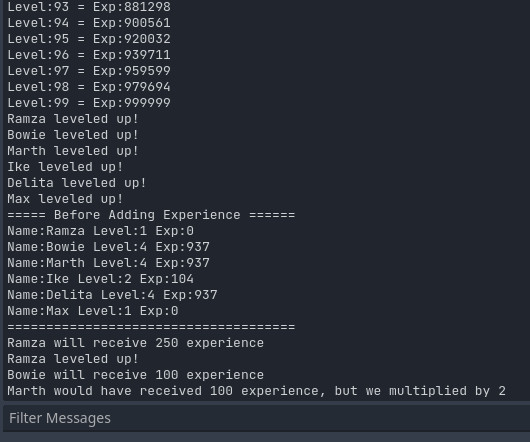
Stat Panel In the folder “Scripts->View Model Component”, create a new script named “StatPanel.gd” We’ll extend LayoutAnchor in this one so we can add the positions to move the panel on and off screen to later. Now that the panels have all been created, lets add the scripts we created earlier.
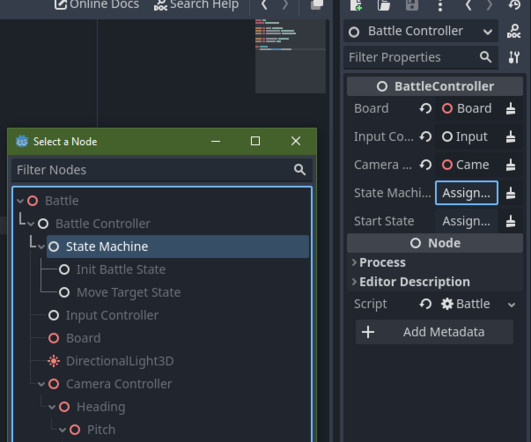
Once the script is attached, select the “Battle Controller” node and in the Inpsector, assign the Turn Order Controller node to its variable. The first line we send a signal to tell our turn controller to continue, and then we select the unit’s tile. The ChangeState will look the same as it did before.
Hi, i want to apply a sprite as a tiled background and apply to it an animation like a movement. I don’t want to make a script that calculate position and if at certain value must to set the start position. This Node has a sprite set as Tiled I want to give this effect changing the “offset” of the texture/sprite of it.
As we need to find all possible tiles a unit can move to, A* quickly bogs down because it is designed to find a single path from point A to B as quickly as it can, but finding a path from A to B-Z is a lot of individual paths. We’ll add this to the same script as the Dirs enum. The breadcrumbs mentioned earlier.
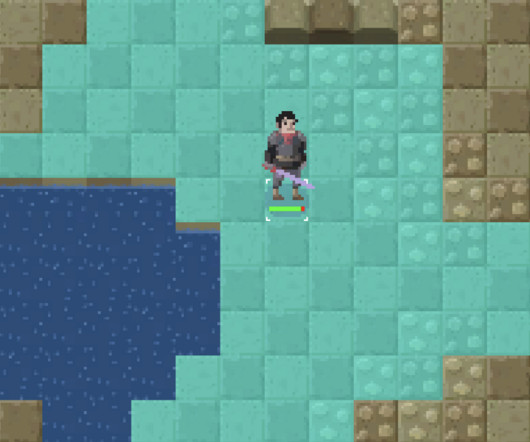
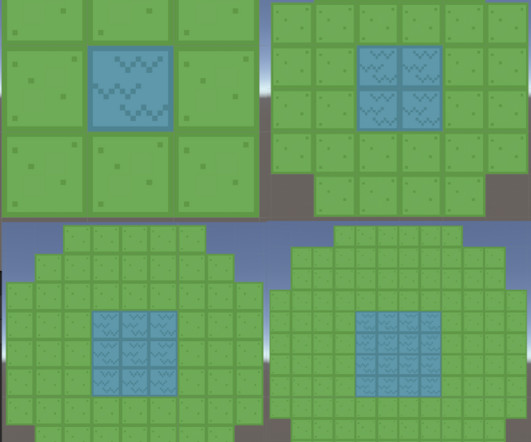
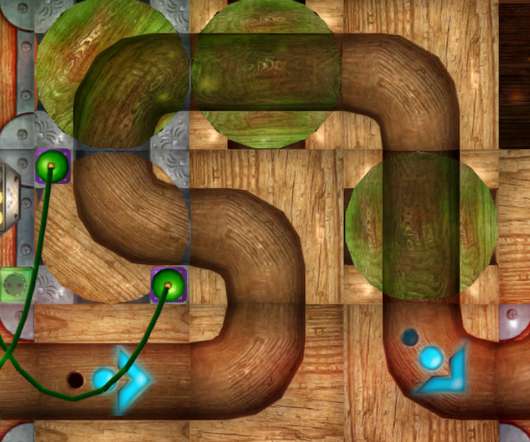
A lot of people asked about making 2D maps and how to use different types of tiles like water vs dirt. For this lesson I created a couple of simple images to use for tile maps. This asset will be sort of abstract data, and can be “skinned” with specific tiles at a later point. They are available in this package here.
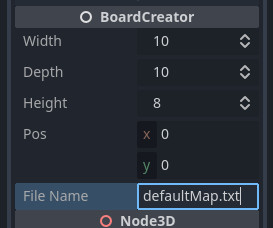
We’ll create everything we need to build our tiles and generate a board or two. “”” this is a comment “”” Although it looks like this can only be used in certain parts of your scripts. x scripting course, or it may be easier for the time being to find a beginner Python course.
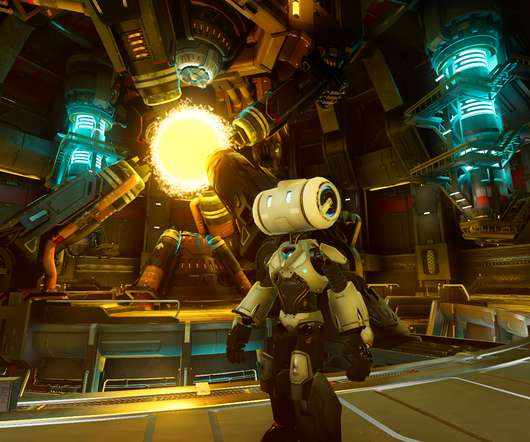
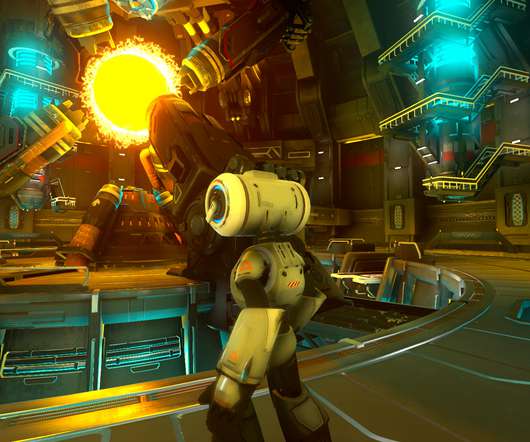
In that project, we had some unique challenges thanks to a non-square board where tiles were optional. In addition we had to consider tile heights – and whether or not a unit could jump as high as needed. In contrast, the pathfinding in this lesson will be for a 2D square board with no missing tiles.
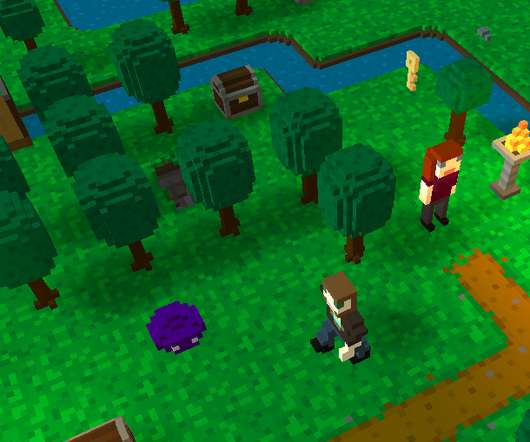
Different creatures can be different sizes, and accordingly may occupy different numbers of tiles, or be able to reach different tiles (such as for attacking). Size System Create a new folder at Scripts -> Component named Size. Size System Create a new folder at Scripts -> Component named Size.
We’ll leave the script alone without being attached to any objects for the time being so we can copy things over from it if we want. The purpose of this script is to hold a reference to the current state and handle switching from one to another. With that in mind, we’ll organize accordingly.
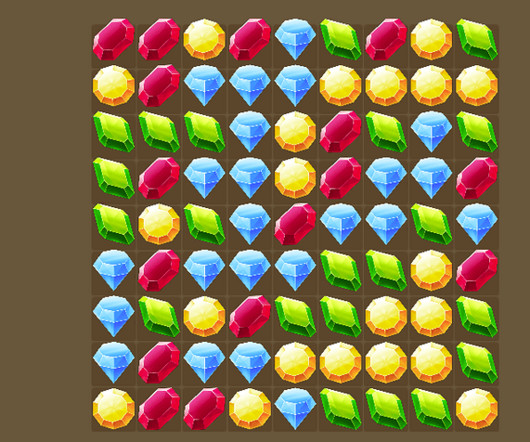
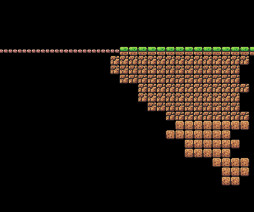
Every tile (dark brown) in the background is a sensor, sensing the diamond type whenever a diamond “touches” the tile’s collider. So each diamond is sitting above another stone until the diamond below stops existing, in which case every diamond above is falling down to a hidden ground below the bottom tiles. Nothing special.
From there I used Sphere, an open source 2d Engine that scripted in javascript. To create a folder right-click inside the FileSystem pane and select New Folder and add these folders addons Materials Prefabs Data Scenes Scripts Settings Textures We’ll add a few more folders inside these as we continue the project.
As soon as the script detects that a black screen will appear soon, the script generates ground. Then I generate nodes from this array, but use the TILED type for the sprite and generate one sprite in one ground line and stretch the sprite in width. I encountered a performance problem. I started with ground generation.
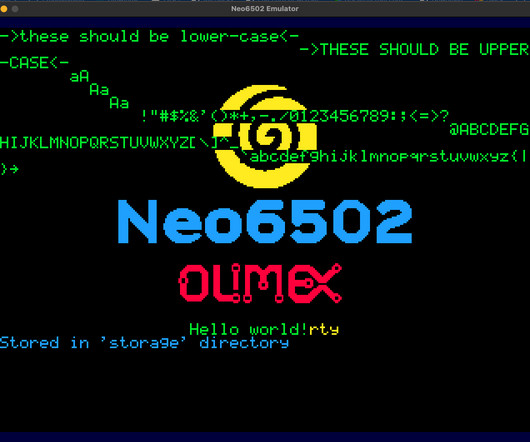
Especially helpful was the build script to show how to compile and launch the emulator with your new binary! Compiling Your C Program Building (sorry) on Paul’s shell script, I created build.sh Full bitmap graphics, with tiles and sprites is also available. which takes as a parameter the name of your C code without the.C.
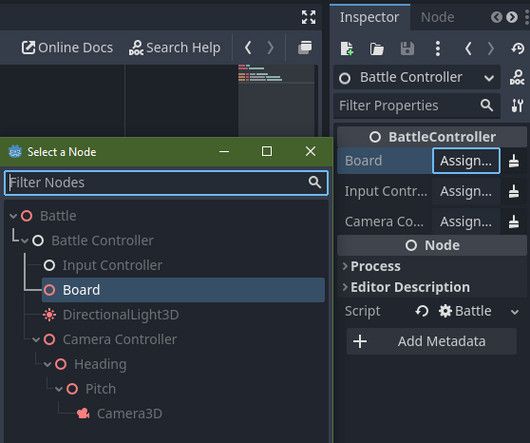
Next we need to create a new folder under Scripts. Name this one “Controller” We’ll place all our controller scripts in here. Create a new script named “BattleController.gd” and attach it to the Battle Controller node. This script will be pretty simple. save_game.store_8(tiles[key].height)
Although I imagine that for the most part the player will only be controlling medium sized units (which occupy a single tile), I also want to make A.I. Open the MonsterActionFlow script and modify its Play method to the following: public async UniTask<CombatResult?> Board Highlight System Open the BoardHighlightSystem script.
I have a tiledmap made in Tiled which uses a png spritesheet, without using.plist or any kind data file for the spritesheet. CocosCreator.app/Contents/Resources/app.asar/builtin/scene/dist/script/3d/manager/asset/asset-watcher.ccc:1:1215) at AssetDump.decode (/Applications/Cocos/Creator/3.8.2/CocosCreator.app/Contents/Resources/app.asar/builtin/scene/dist/script/export/dump/types/asset-dump.ccc:1:989)
I’m trying to write a script to import assets from DLtk export and I need some advice. the idea is to use a data.json as entry point and parse it to build different nodes with attached images and polygon colliders so that the user can add its own script to every layer. You already do a similar thing with Tiledtile maps.
The list of all global script classes (and their icons) is no longer stored in the project.godot file. Core: Move global script class cache to separate file ( GH-70557 ). Editor: Make keyboard shortcuts in tile data editors consistent with tilemap editor ( GH-71517 ). or below ( GH-69851 ).
More color magic from Paulb23: Configurable script background color, grid color, current script highlighting. TileMap editor: Bucket tool - allow deleting and replacing of tiles. TileMap editor: Display fixes and enhancements on the tile palette. TileMap editor: Display fixes and enhancements on the tile palette.
Supports a lot of scenarios and perform smart-completion of node types if a scene where the script is being used is open. Improved Isometric TileMap Support (proper Z ordering of tiles and children nodes). This beta prepares the road for the 1.1 release, expected sometime in late April. 2D Materials. 2D Independent Z ordering per-node.
Editor: Add contextual create/load script button to the Scene Tree dock. Nodes: Add modulate (color) to TileSet tiles. It does not modify your scripts, so you will have to do the relevant API changes manually (the debugger will report invalid syntax, and the documentation should help find what the next syntax is). alpha format.
All you need to do is save one shell script file containing those commands. All you need to do is enter “record a test” mode, load your site’s current working page, click through the functionality you want to be tested, and stop recording the test—this generates a test script to replicate your clicks.
Mhz with all signals available via connector RP2040 with 2MB of SPI Flash, 64k RAM available to the processor HDMI output with 320 x 240 256 colour display, higher resolutions appear on Apple/Oric emulators 20k Graphics RAM for tiles and 128 sprites up to 32×32 pixels.
Create a subfolder in “Scripts->Exceptions” named “Modifiers” and inside that folder we’ll create a script named “Modifier.gd” that will be our base modifier class. We’ll create all these scripts in the same “Scripts->Exceptions->Modifiers” folder.
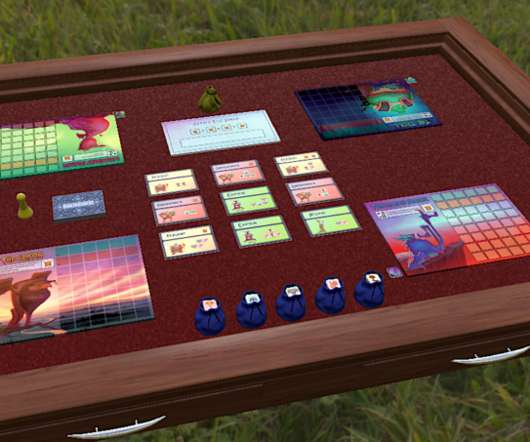
Click Tile for flat pieces or Figurine for stand-up pieces. You can create incredibly complex board games with 3D models and Lua scripting. Sideways – check only if your cards are meant to be used sideways. Back is Hidden – check. Click Import. To add a custom component, follow these instructions.
which would have included new multiplayer networking, visual scripting and many other improvements) because we realized that projects using the new features would no longer work in 3.0, Visual Scripting. Auto-tiling in tile maps. Visual Scripting. A year ago, we decided to skip the release of Godot 2.2 SVG support.
Supports a lot of scenarios and perform smart-completion of node types if a scene where the script is being used is open. Improved Isometric TileMap Support (proper Z ordering of tiles and children nodes). this video with the new feature showcase! Full list of features. Rewritten Auto-Completion in the Code-Editor. 2D Materials.
Initializing class member variables can be quite of a hassle, code such as this is common in GDScript: The 'onready' keyword allows initialization of class member variables at the same time when _ready is called, saving some code: But doing this for autoloaded scenes can still be a hassle, as it has to be done every time a script is created.
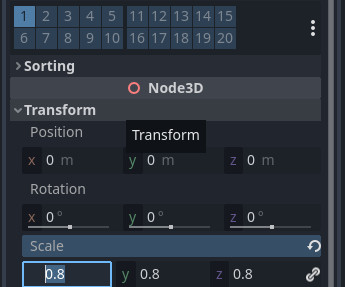
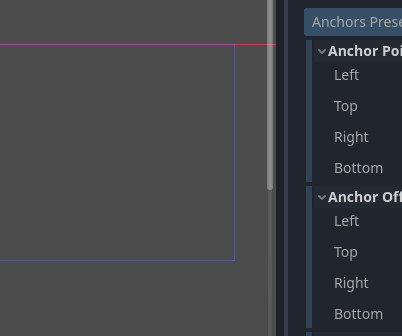
This time we’ll be working on some scripts to make working with anchor points in code a bit simpler, and allow us to animate some things in our UI. Test Scene Before we get into the lesson, I’d like to take a moment to set up the scene we’ll be using as a playground for the new scripts. Welcome back to part 6.
As a side benefit, you can look at the script in the inspector and see the Entity’s id which may be useful for a variety of debugging purposes. Open the EntityViewProvider script and modify the SetView method to look like this: public void SetView(GameObject view, Entity entity, ViewZone zone) { if (!mapping.ContainsKey(zone))
Find character sprites, environment tiles, UI elements, sound effects, and music tracks, all contributed by artists and musicians within the game development community. Visual Scripting And No-Code Solutions Bolt for Unity: This visual scripting editor within the Unity game engine allows you to build game logic without writing code.
That is, instead of rendering your animation frame by frame on your local PC, the job is being split into multiple frames (or even tiles) and each machine in the render farm renders just some of them. Additionally, all scripts are being disabled for security reasons. Blender file can be compressed before uploading.
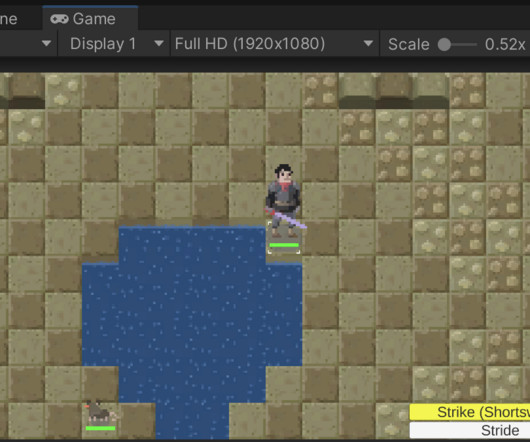
There are different actions for moving, and is why you see “Stride” vs “Step” A step is only a single tile of movement and can avoid acts of opportunity, whereas a Stride can move much further, but does provoke acts of opportunity. Create a new folder at Assets -> Scripts -> Component named Position.
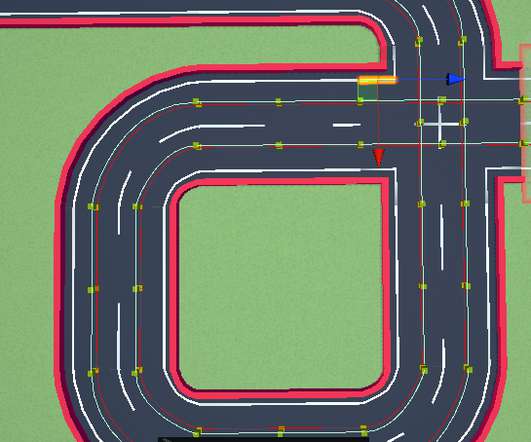
Every part must be set accordingly to the tiles, that size is 30x30x10. In the editor props are spawned procedurally – it took some time to organize scripts and meshes properly. Players are able to create their own tracks using road parts, obstacles and props. Position of all these objects is dictated by the world’s grid.
Scripting them is simpler now as well. And to top it off, your scripts can now automatically generate documentation that can be studied with the built-in help and the Inspector dock tooltips. This was achieved by a complete rewrite of the language backend by our main scripting maintainer George Marques ( vnen ). GDExtension.
We organize all of the trending information in your field so you don't have to. Join 5,000+ users and stay up to date on the latest articles your peers are reading.
You know about us, now we want to get to know you!
Let's personalize your content
Let's get even more personalized
We recognize your account from another site in our network, please click 'Send Email' below to continue with verifying your account and setting a password.


Let's personalize your content