This site uses cookies to improve your experience. To help us insure we adhere to various privacy regulations, please select your country/region of residence. If you do not select a country, we will assume you are from the United States. Select your Cookie Settings or view our Privacy Policy and Terms of Use.
Cookie Settings
Cookies and similar technologies are used on this website for proper function of the website, for tracking performance analytics and for marketing purposes. We and some of our third-party providers may use cookie data for various purposes. Please review the cookie settings below and choose your preference.
Used for the proper function of the website
Used for monitoring website traffic and interactions
Cookie Settings
Cookies and similar technologies are used on this website for proper function of the website, for tracking performance analytics and for marketing purposes. We and some of our third-party providers may use cookie data for various purposes. Please review the cookie settings below and choose your preference.
Strictly Necessary: Used for the proper function of the website
Performance/Analytics: Used for monitoring website traffic and interactions
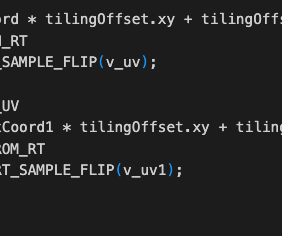
The vertical axes of textures and picture pixels is shown above, when sampling textures in shaders, that is from top to bottom, which is top-right corner. Use UV in Shader Both 2D and 3D shaders in Cocos are obtained in the vertex shader (VS) and passed to the pixel shader (FS). x,waveFactor.y-uv0.y); x,waveFactor.y-uv0.y);
This gives me freedom in level design and saves work making tiles… tileable. The custom terrain shader uses the z-channel to draw water in lower areas of the level. The graphics backend rewrite took a while. However, the situation is now good. Everything is just one big texture. So it’s RGBZ.
I have a 2d tiled game. But when you look closely, you realize that all tiles now point to the distortioned Monsters spriteframes. It happens on 1 gig+ memory devices Could it be unloaded memory, the texture itself, the shaders, triangles, material or what not? Ok so here is the deal. Here are some information.
We’re not really doing anything with shaders or post processing in the tutorial, so depending on where you want to take the tutorial later, its really up to you which you choose. The first thing to download will be the sprites and textures from the original tutorial. Download Icon.svg and replace the original file with it.
Import: Fix texture atlas generation when source sprite is larger than generated atlas ( GH-55094 ). Particles: Fix for double use of seed in random shader variables ( GH-55607 ). Tiles: Fix TileSet editor workspace breaking ( GH-55059 ). Tiles: Only add light occlusion for visible TileMaps ( GH-54435 ).
Import: Fix texture atlas generation when source sprite is larger than generated atlas ( GH-55094 ). Particles: Fix for double use of seed in random shader variables ( GH-55607 ). Tiles: Fix TileSet editor workspace breaking ( GH-55059 ). Tiles: Only add light occlusion for visible TileMaps ( GH-54435 ).
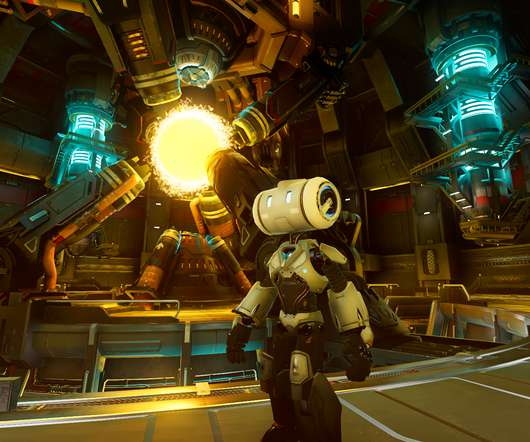
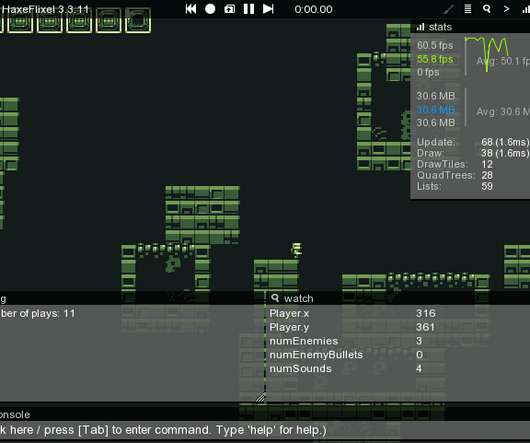
The engine should be able to render and simulate 200+ lightweight game objects -- frame-animated sprites with simple collision, no fancy physics or shaders. Instead of MonoBehaviour, most of your scripts inherit from FlxSprite (or FlxNestedSprite if you need to parent sprites to each other) instead. and no WASM.)
We organize all of the trending information in your field so you don't have to. Join 5,000+ users and stay up to date on the latest articles your peers are reading.
You know about us, now we want to get to know you!
Let's personalize your content
Let's get even more personalized
We recognize your account from another site in our network, please click 'Send Email' below to continue with verifying your account and setting a password.


Let's personalize your content