This site uses cookies to improve your experience. To help us insure we adhere to various privacy regulations, please select your country/region of residence. If you do not select a country, we will assume you are from the United States. Select your Cookie Settings or view our Privacy Policy and Terms of Use.
Cookie Settings
Cookies and similar technologies are used on this website for proper function of the website, for tracking performance analytics and for marketing purposes. We and some of our third-party providers may use cookie data for various purposes. Please review the cookie settings below and choose your preference.
Used for the proper function of the website
Used for monitoring website traffic and interactions
Cookie Settings
Cookies and similar technologies are used on this website for proper function of the website, for tracking performance analytics and for marketing purposes. We and some of our third-party providers may use cookie data for various purposes. Please review the cookie settings below and choose your preference.
Strictly Necessary: Used for the proper function of the website
Performance/Analytics: Used for monitoring website traffic and interactions
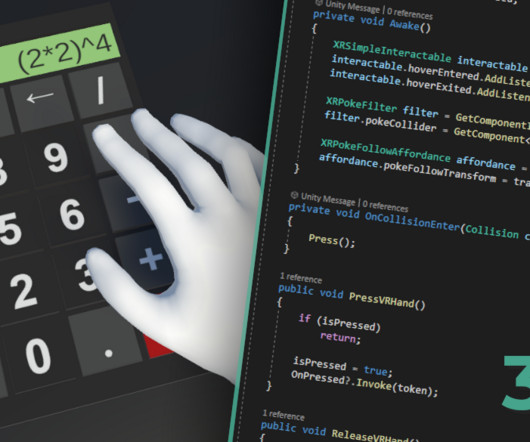
Right-click on the Project content tab and from the context menu that appears, select Export Package. " " Before you click on Export. This is our starting point in a new Unity project. Click Yes to proceed and let the editor restarts itself. make sure to deselect everything that is not part of the prefab.
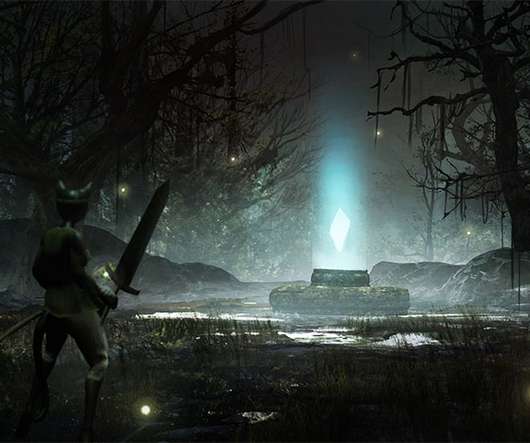
Once she had the base down, Bianca then started adding in the unique details included in the concept, like the sharp, pointed spinal fins along the character's head, neck, and back—and the fine, thin webbing between its fingers. Now the new remapped button (R-click) can be used to both cast a spell and block when a shield is equipped.
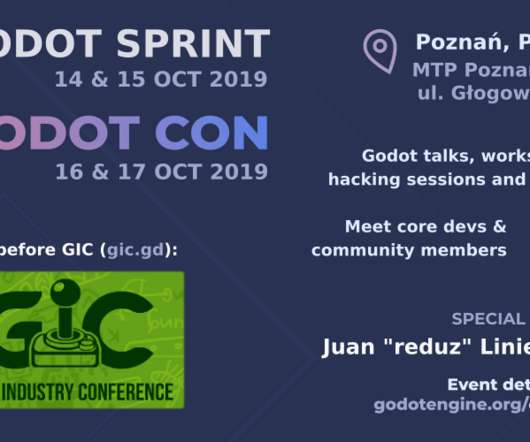
Demo: Character rigging using Skeleton2D | Matejs Balodis. A quick demo on how to set up, rig and animate a 2D character in Godot Engine using 2D meshes and the Skeleton2D node. Aleksandar previously worked on award winning and critically acclaimed point-and-click adventures, and is now a producer for Trip the Ark Fantastic.
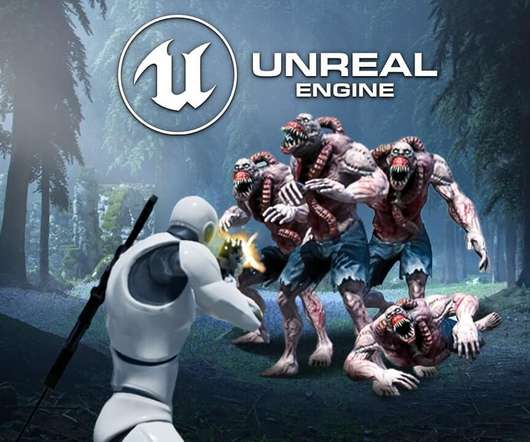
You can download the assets and the complete project for this tutorial by clicking on the button above. We’ll start with the Player_Character folder: Inside the Player_Character folder Right Click and create a new blueprint: The parent class is going to be Character: Name the blueprint BP_Player and open it in the editor window.
We organize all of the trending information in your field so you don't have to. Join 5,000+ users and stay up to date on the latest articles your peers are reading.
You know about us, now we want to get to know you!
Let's personalize your content
Let's get even more personalized
We recognize your account from another site in our network, please click 'Send Email' below to continue with verifying your account and setting a password.


Let's personalize your content