This site uses cookies to improve your experience. To help us insure we adhere to various privacy regulations, please select your country/region of residence. If you do not select a country, we will assume you are from the United States. Select your Cookie Settings or view our Privacy Policy and Terms of Use.
Cookie Settings
Cookies and similar technologies are used on this website for proper function of the website, for tracking performance analytics and for marketing purposes. We and some of our third-party providers may use cookie data for various purposes. Please review the cookie settings below and choose your preference.
Used for the proper function of the website
Used for monitoring website traffic and interactions
Cookie Settings
Cookies and similar technologies are used on this website for proper function of the website, for tracking performance analytics and for marketing purposes. We and some of our third-party providers may use cookie data for various purposes. Please review the cookie settings below and choose your preference.
Strictly Necessary: Used for the proper function of the website
Performance/Analytics: Used for monitoring website traffic and interactions
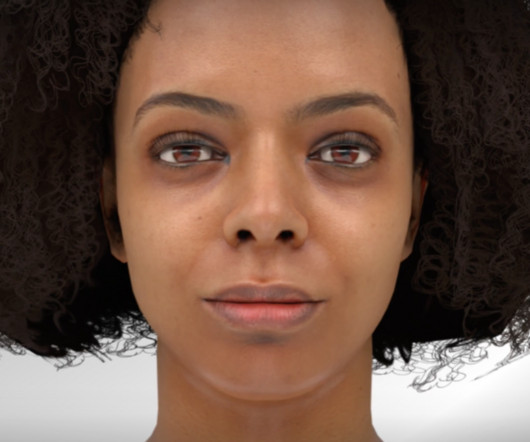
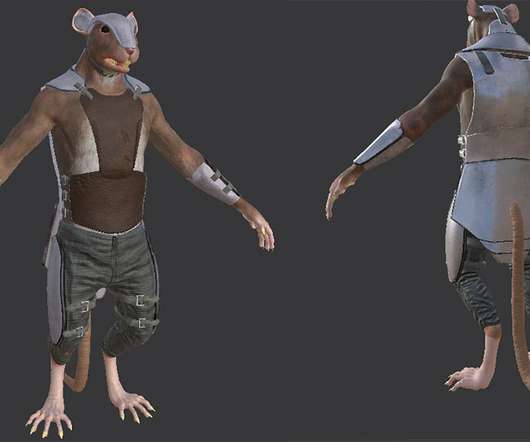
This base character comes fully rigged and can be completely edited by the developer. As the designer changes elements of the character (let’s say changing a small young woman into a large werewolf), the rig and assets automatically adapt to the new shape of the character. It happens instantly.
Established in 2023, Yellow's first tool, YellowSculpt, uses AI to provide artists and designers with pre-rigged 3D character meshes within three minutes. With the investment from Andreessen Horowitz, it aims to expand its 3D character creation technology. Read more
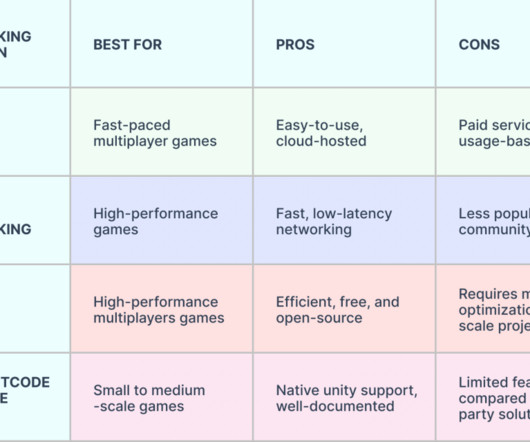
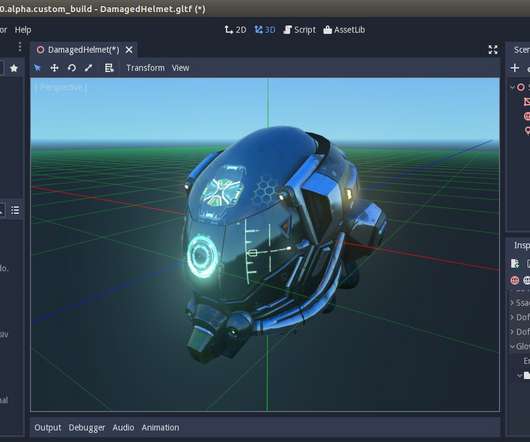
Its capabilities for VR content creation include comprehensive 3D modeling tools, advanced texturing and shading, animation and rigging, and integration with VR Devices. Draco 3D - 3D Optimization and Compression Tools Draco 3D is an open-source library by Google that is used to compress and decompress 3D geometric meshes and point clouds.
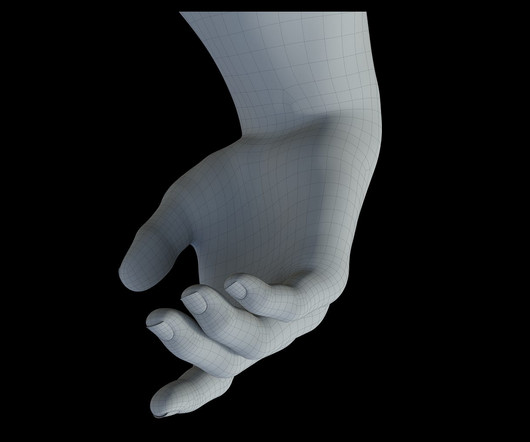
Each image part was converted to mesh. The USP of Spine animation software is how smoothly it converts an image part to mesh. In each mesh vertices are placed to define how we want to move the character. Bones are created to help the mesh move and provide fine-tuned control. It is these vertices which can be moved.
The use of simple colliders should include box and sphere types instead of complex mesh colliders to minimize processing requirements. Simplify Rigs: Remove unnecessary controllers, constraints, and bones. Non-interactive objects should have their physics features disabled through Rigidbody.isKinematic and Collider.enabled settings.
They can be rigged and animated, placed as a stationary object in a scene, combined with other assets to create a set/environment, simmed or destroyed, and used for shadows or holdouts. 3D modeling is the creation of a computer-generated object or character represented in 3D space, commonly referred to as a model or an asset.
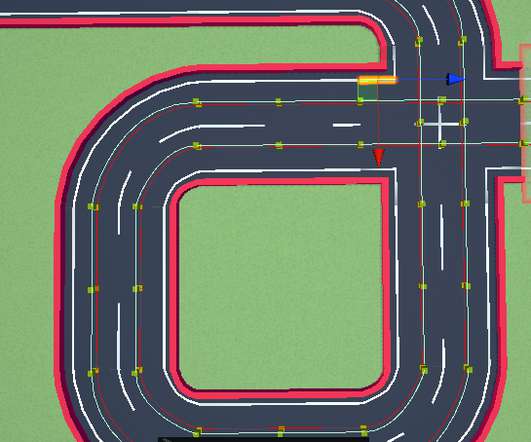
To solve the problem we rearranged the mesh and added some edge loops along track parts. Adjusting mesh, rig and skinning needed a couple of iterations. We needed to simplify the mesh and decrease the amount of tiny details for the sake of readability. Static obstacles needed some adjustments as well.
Today we're serving up some seriously exciting updates, including a look at our new, custom game cursor; updates on our new player character's rigging and animation; and a sneak peek at our newest WIP level area. The door itself has two meshes—one for dynamic use and one that is simply for decoration if desired. giant pain the ass.
In a scene description format, materials can be contained in instances (as in, the instance is the mesh used, the transform in the world, and the material) or inside meshes (mesh comes with a material). does to meshes (the later). Nowadays, characters are rigged and animated using IK, not FK.
Has a bone based rig. Has no mesh modifiers. The armature and mesh objects are on Layer 1. In our case here we need to attach the material to our mesh instance: Select the mesh instance. Note that you can reconstruct the materials first and then assign it to a mesh instance, the order doesn't matter.
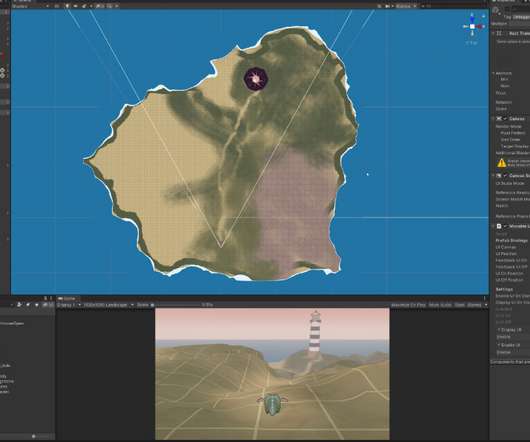
So handling a full landscape with high-resolution Megascan foliage mesh was painful. In the second last week of the course, my landscape shot was crashing all the time when I tried to render it in Sequencer (never render only until the last moment!). My computer specs don’t include the latest fancy graphic card or the biggest RAM space.
Geometry: Build with LODs from the start, batch static meshes, and constrain polycounts based on hardware targets. Run QA on low-end hardware , not just your development rig. Textures: Use texture atlases, apply compression formats suited to your target platform (e.g., ASTC for mobile, DXT5 for PC), and eliminate over-resolved images.
It’s the perfect replacement for Unity’s UI Text and the legacy Text Mesh. . High quality rigged low poly animals with amazing animations, stunning demo scenes, multiple textures, sounds and Wander Script. TextMeshPro. TextMeshPro is the ultimate text solution for Unity. Universal RP. Epic Toon FX by Archanor.
The beta release of Audio2Face includes the highly anticipated ‘character transfer’ feature, enabling users to retarget animation onto a custom 3D facial mesh. With the Audio2Face app, Omniverse users can generate AI-driven facial animation from audio sources.
Importing Samples To make our life a bit easier, let's import an XR rig from the Unity sample assets. Here, you have the option to change hand meshes and assign them a specific material. Simply click on the Fix All button, which will execute the necessary actions. But first, we need to import them into our project.
After creating a low-poly mesh for the tree, however, Joe started to worry about how high the polycount for this piece would ultimately end up being. link] Rigging / Animation. Our 3D Generalist, Joe, spent a majority of this sprint modeling out the truly gargantuan tree and house that serve as the centerpiece for this concept.
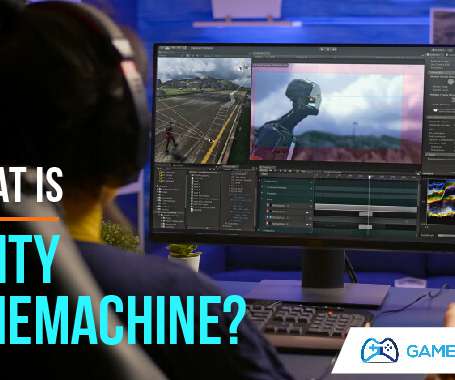
You have to pay for extra plug-ins to export, for example, FBX meshes out of an engine. After that, it’s best to learn how to use the free look composition feature, which includes orbiting a transform, customizing player input, and adjusting composition at different stages of a rig. Limitations on exporting.
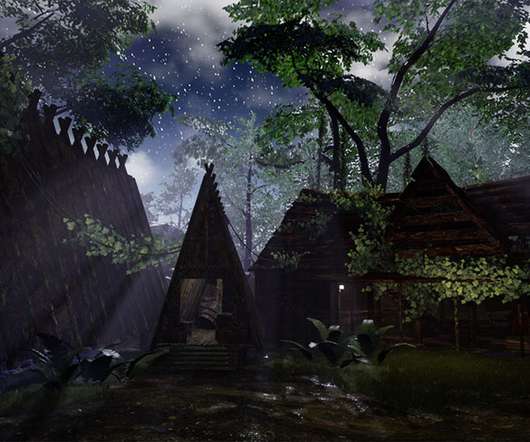
Although we liked the idea of the original lamp posts, they didn't quite mesh well with the remote and run-down vibe of the Dalamase. link] Rigging / Animation. The new versions of the lamp posts that Hassan whipped up this sprint are much more suited to an abandoned fishing village.
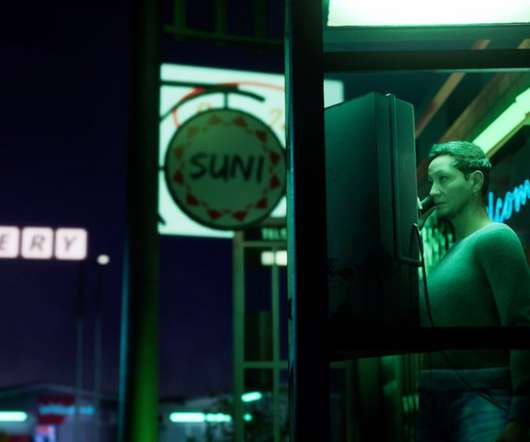
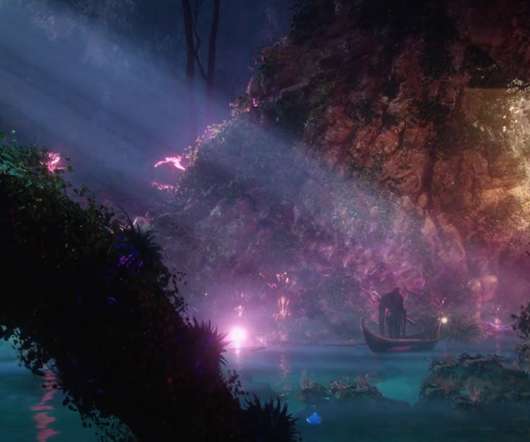
I used the fog and lights to create the mood and added particle effects, wind, and animated mesh and materials to finish up the piece. When most of this was ready, I started breathing life into the scene by adding VFX and lighting. Finish with a film-quality cinematic like Aurore's!
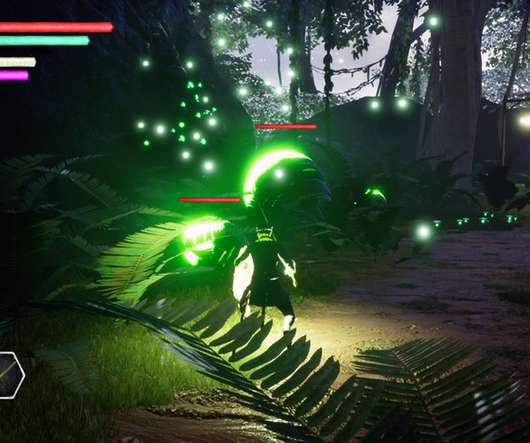
After cleaning up the existing files, Julian then reconnected the abilities system and established interfaces for both AI and animBPs for characters; he also created the animBP for the game's new mesh and set up displayed items for Equipment. Rigging / Animation.
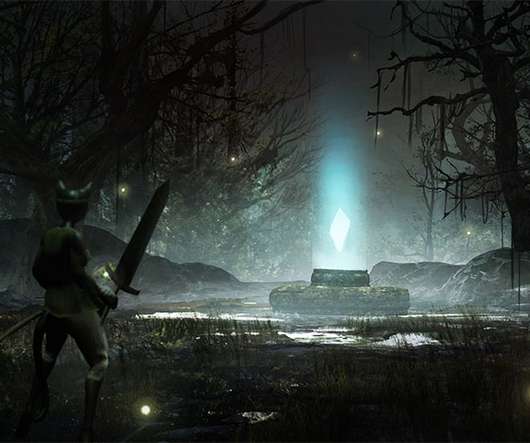
Demo: Character rigging using Skeleton2D | Matejs Balodis. A quick demo on how to set up, rig and animate a 2D character in Godot Engine using 2D meshes and the Skeleton2D node. It is a fable-based RPG cofunded by the MEDIA fund of the European Union which will be released in 2021/2022.
An easier step would have been to simply transform the sculpted mesh into a new object in Cinema4d. I rigged the mesh according to the creature’s anatomy and tweaked around the settings for a while. The result keeps the same. 96.
Inside the BP_Player editor, click on the mesh component in the Component tab at the top right corner: Now inside the Details tab on the right side, under the Mesh option for the Skeletal Mesh 3D object we are going to select the Mannequin 3D object: But make sure that you select the one which is located in the Art folder.
We organize all of the trending information in your field so you don't have to. Join 5,000+ users and stay up to date on the latest articles your peers are reading.
You know about us, now we want to get to know you!
Let's personalize your content
Let's get even more personalized
We recognize your account from another site in our network, please click 'Send Email' below to continue with verifying your account and setting a password.


Let's personalize your content